HƯỚNG DẪN CÀI EXCHANGE SERVER 2019 CU12 TRÊN WINDOWS SERVER 2022
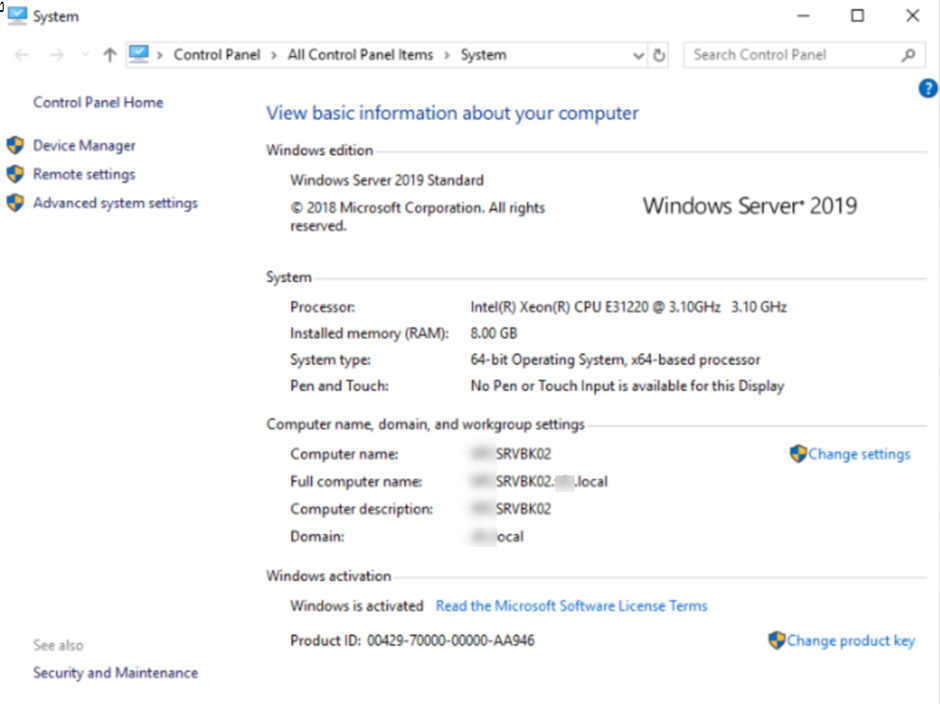
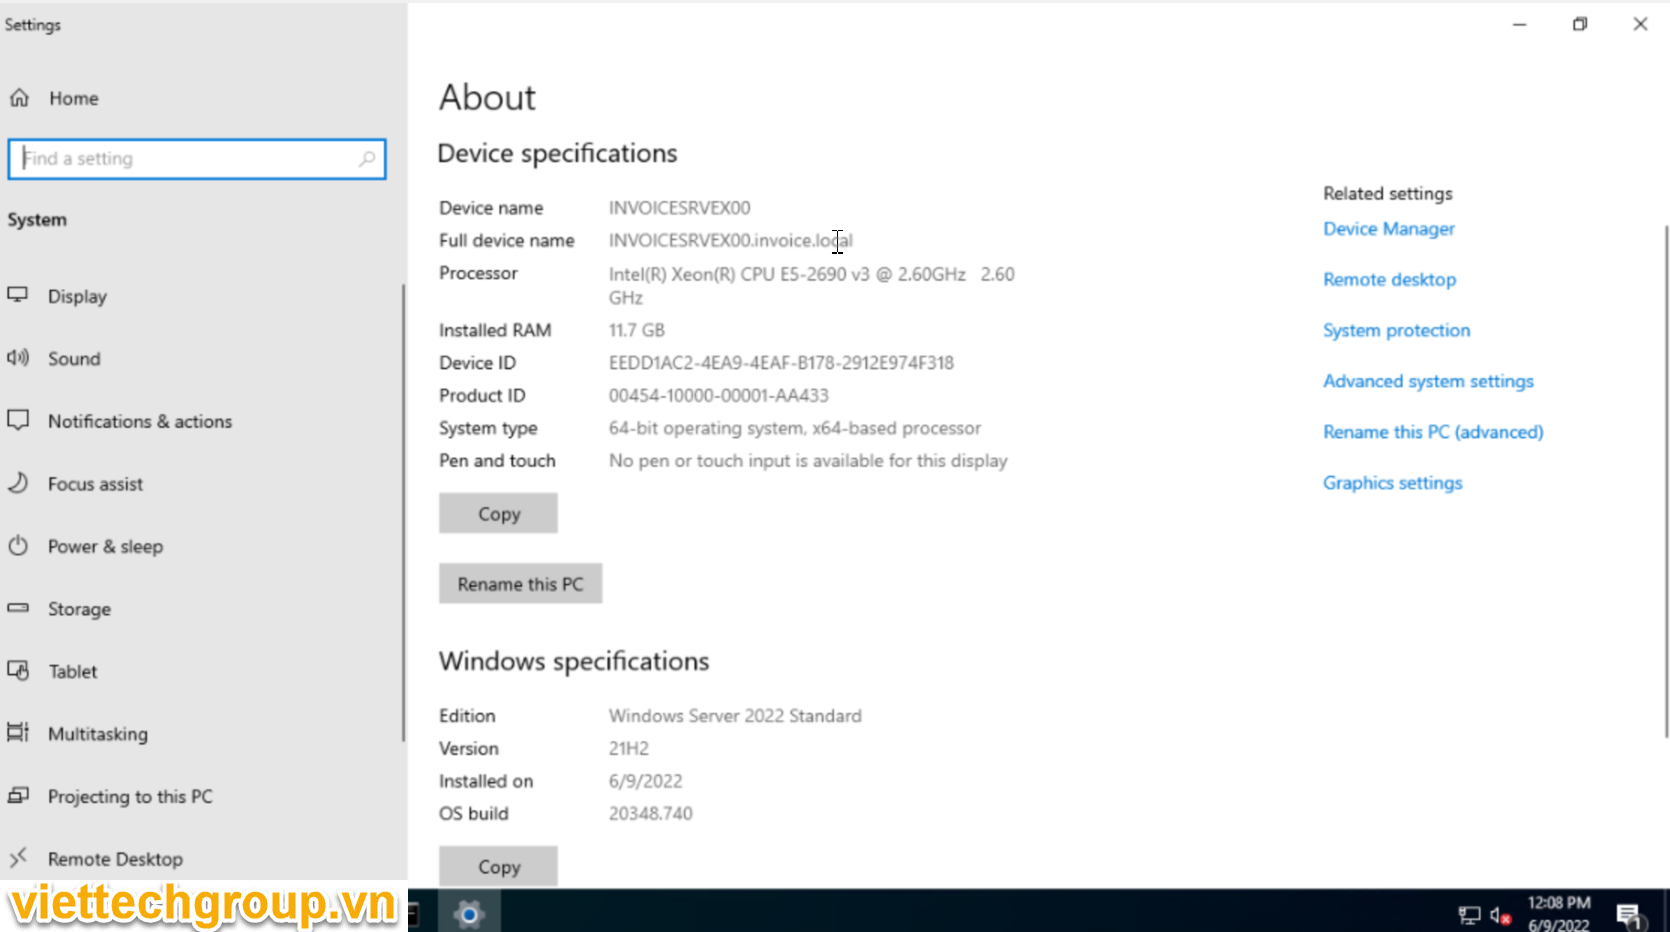
Thông tin
Domain invoice.local

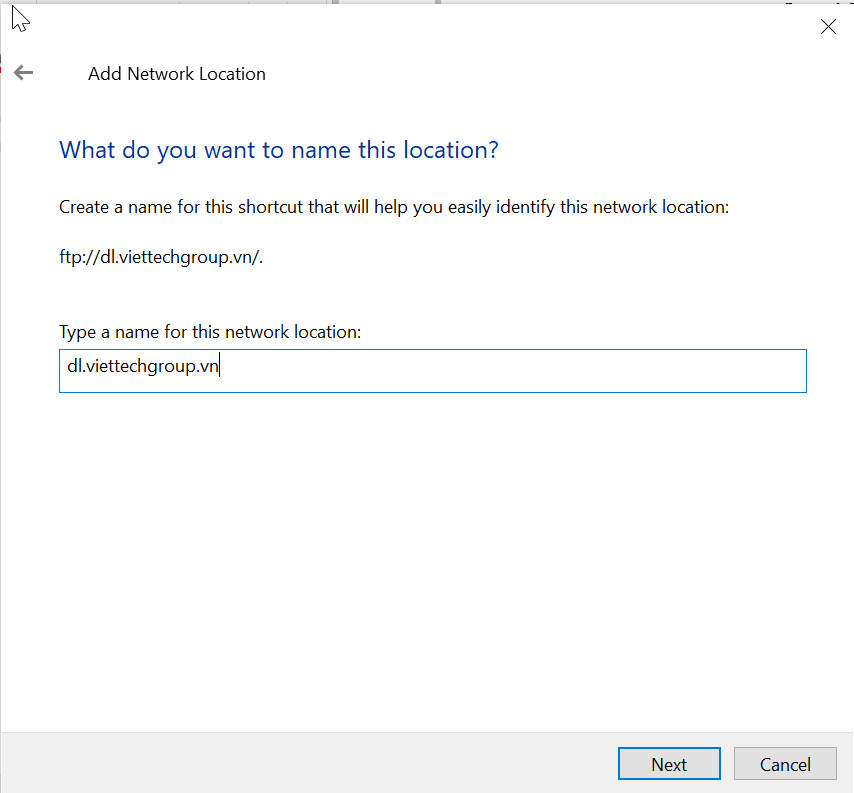
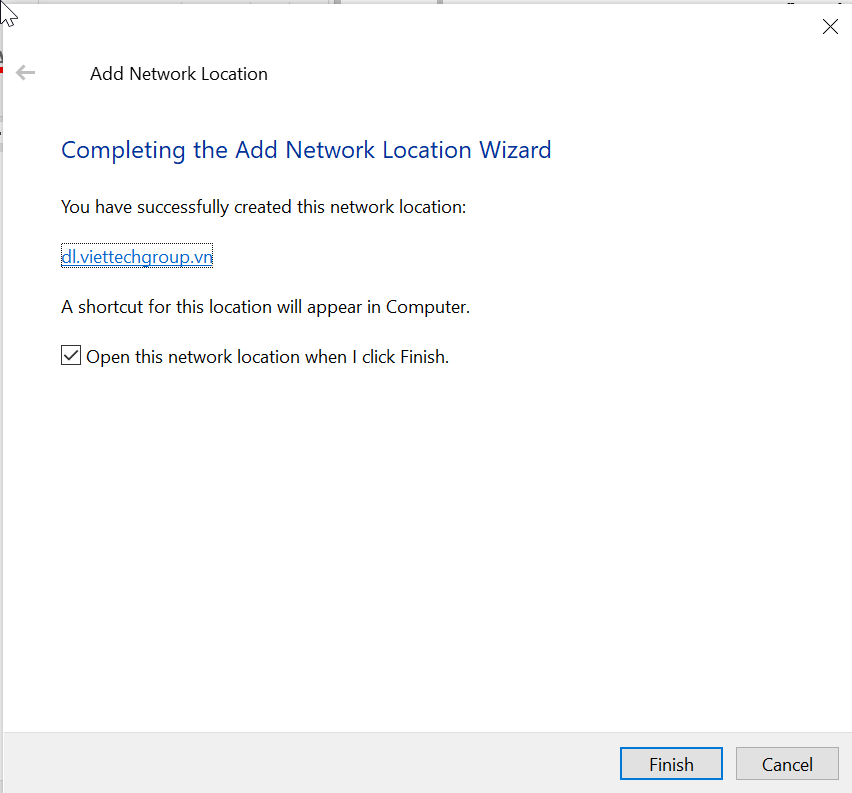
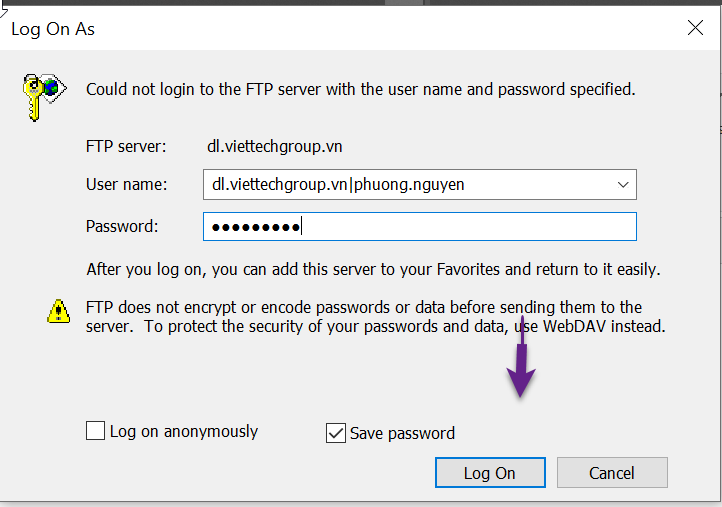
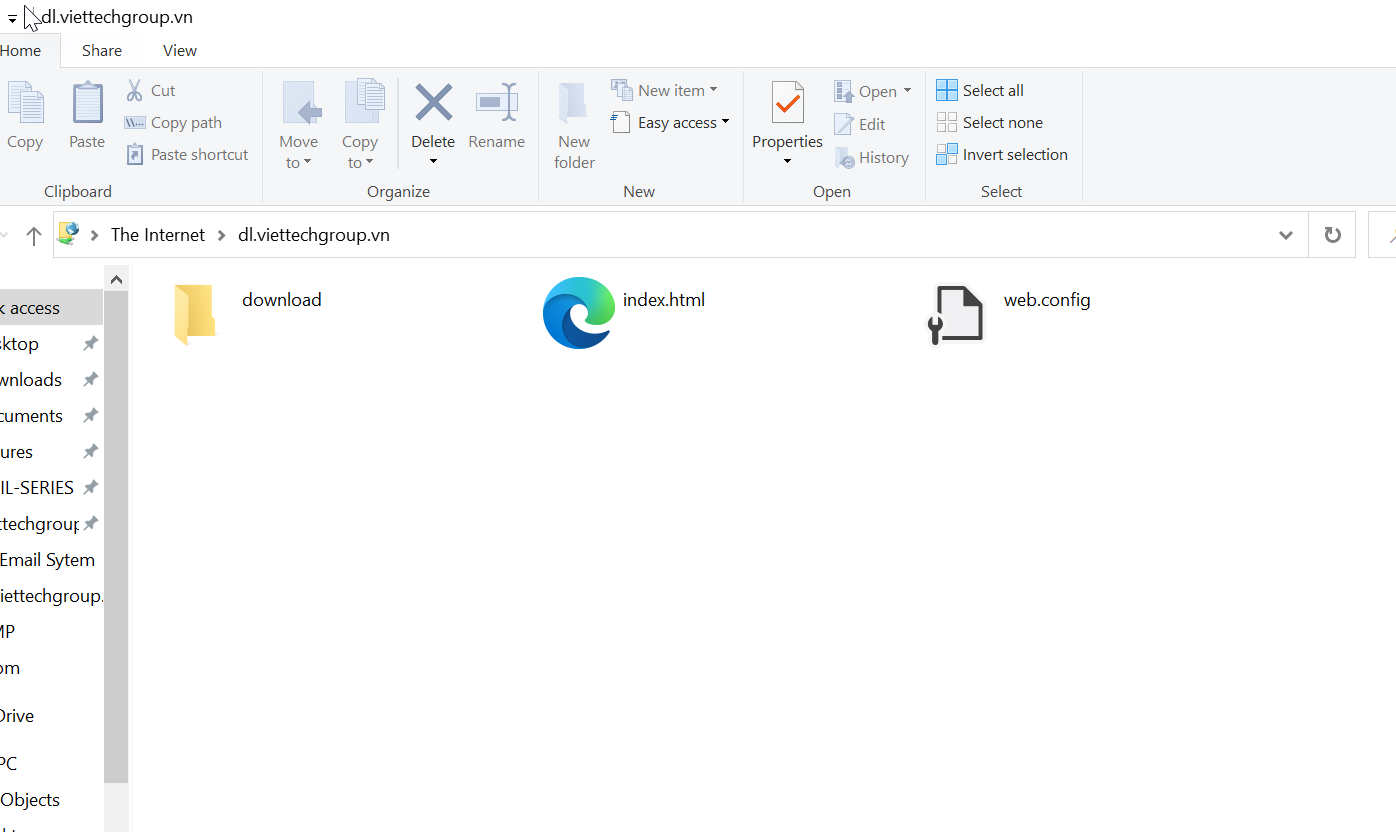
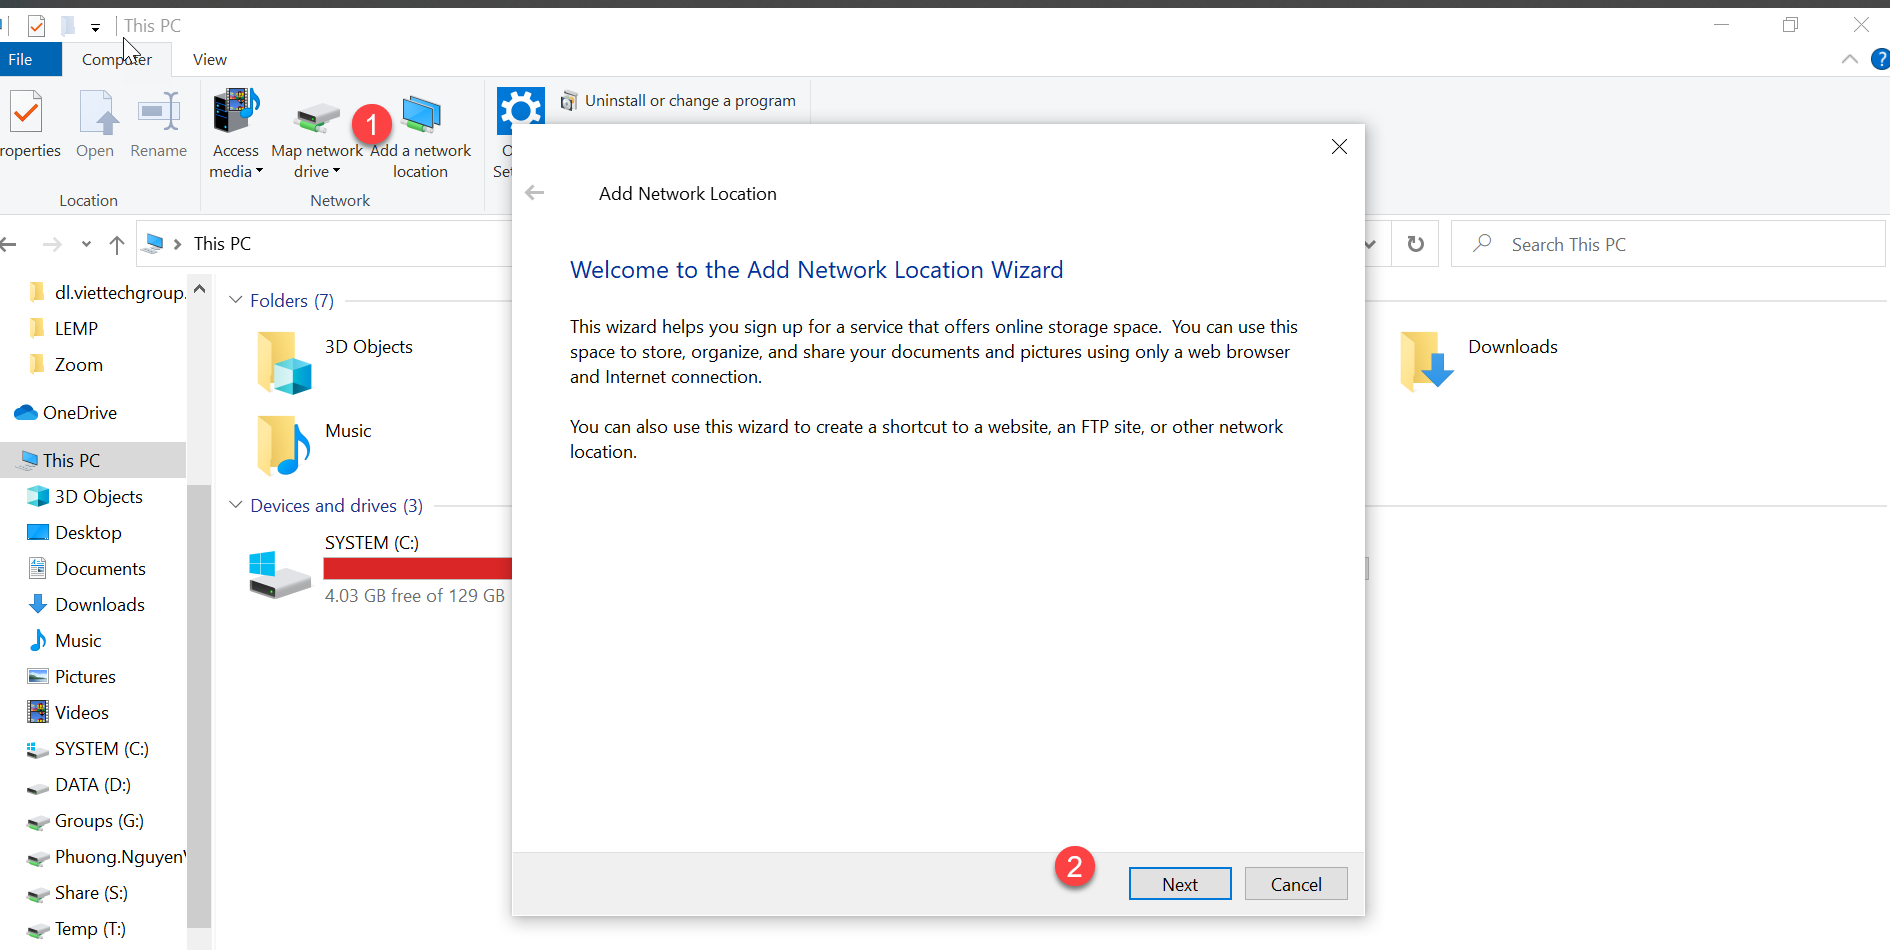
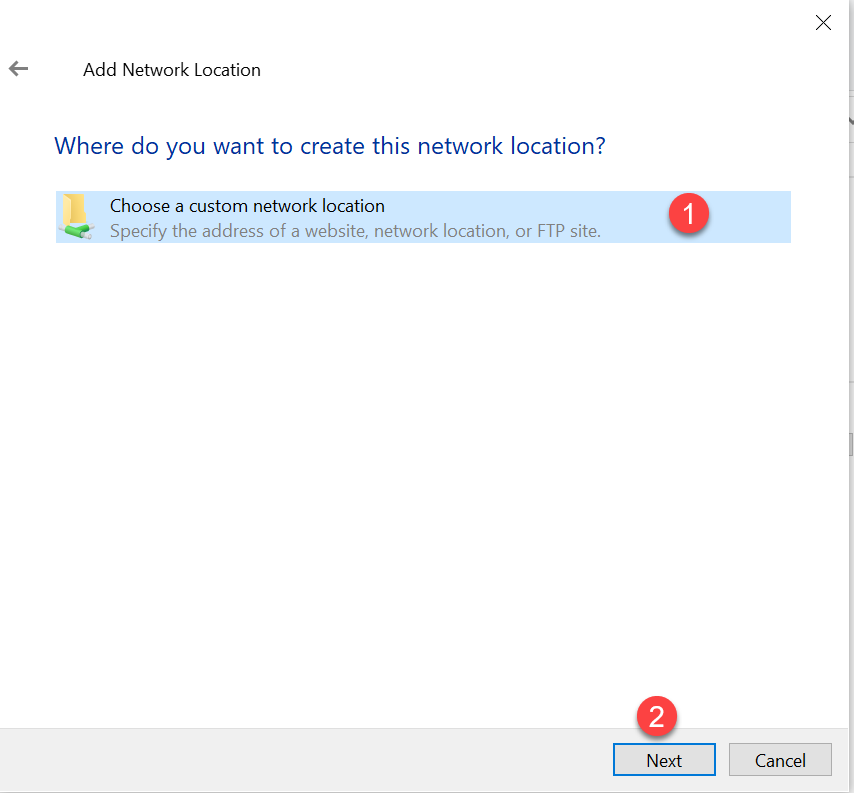
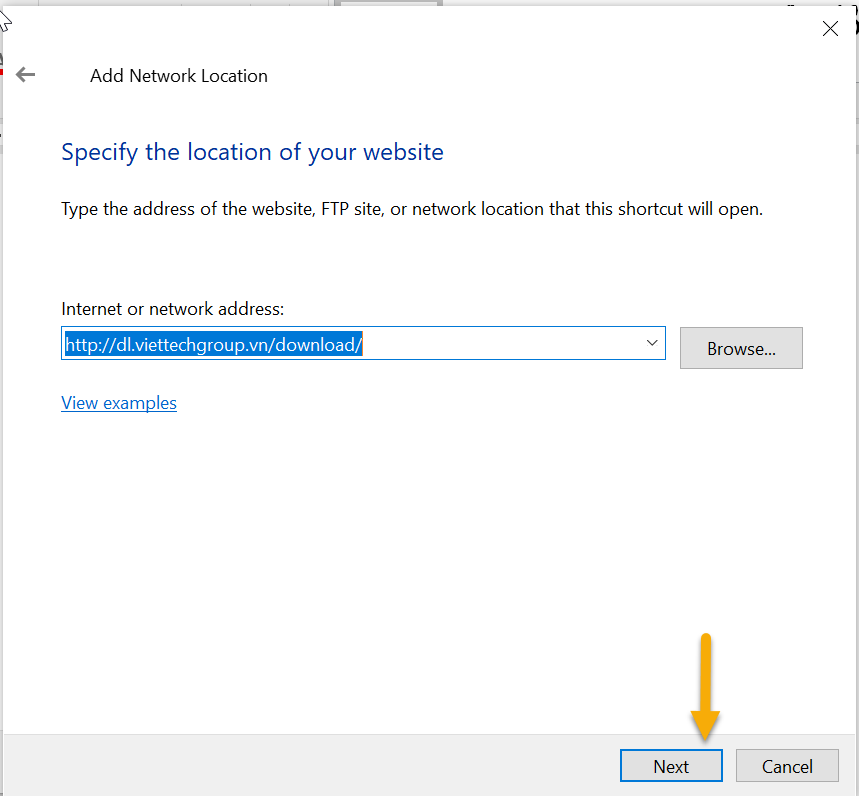
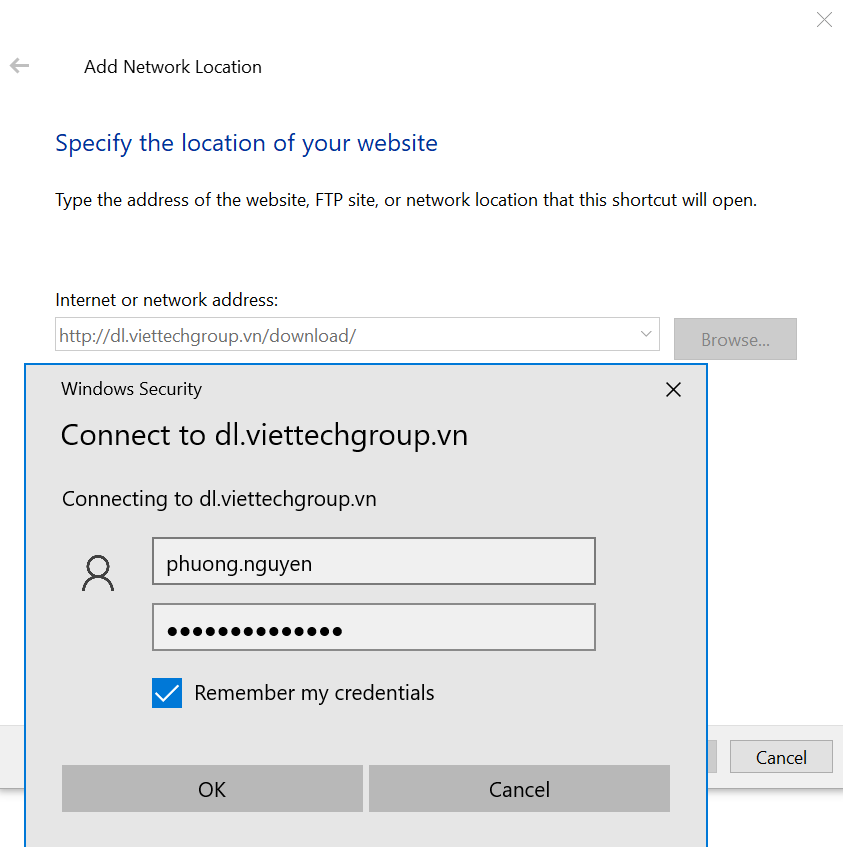
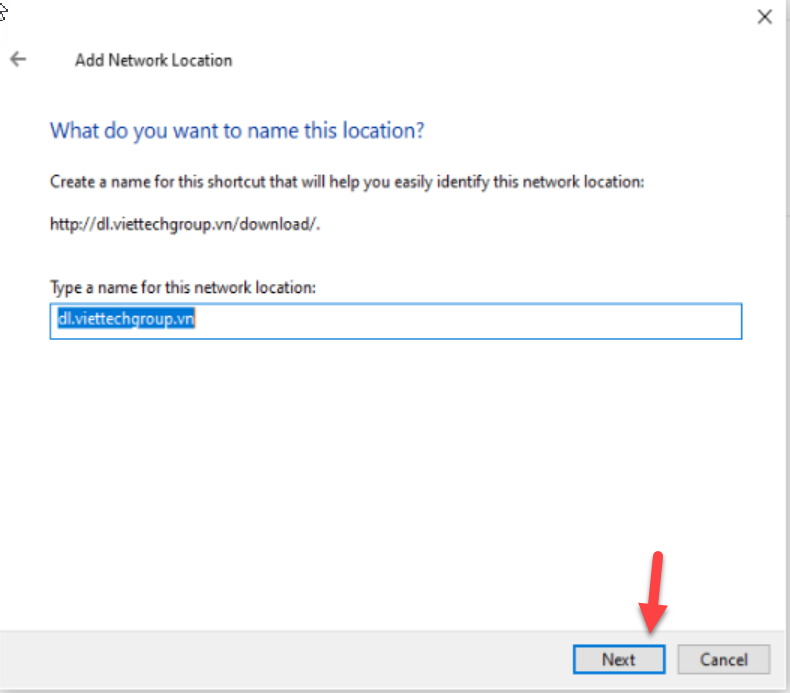
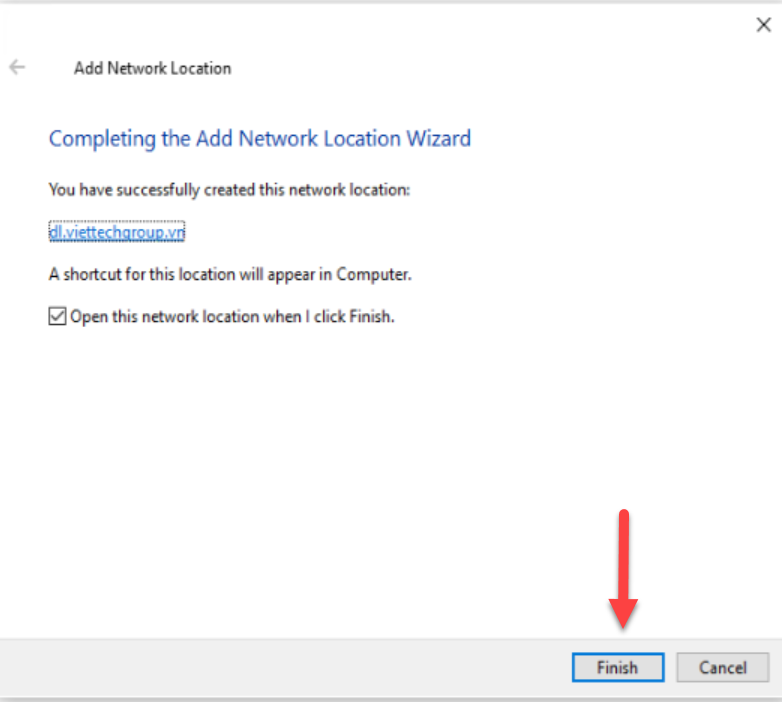
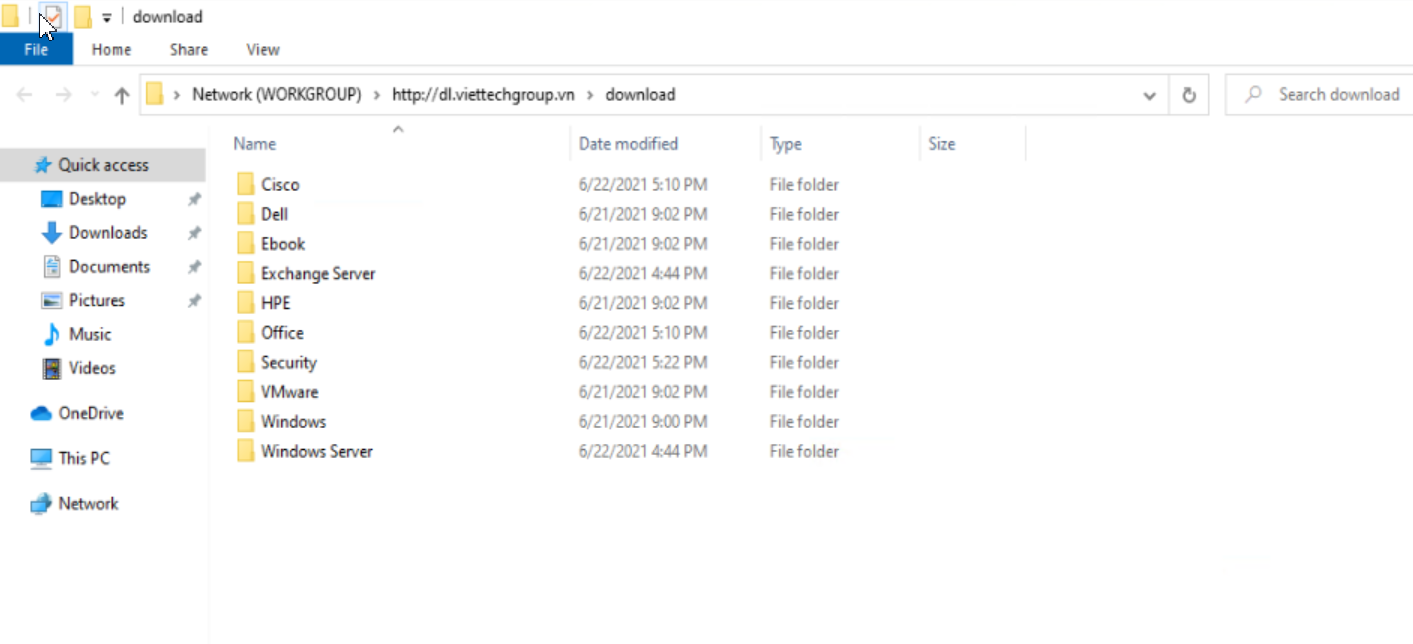
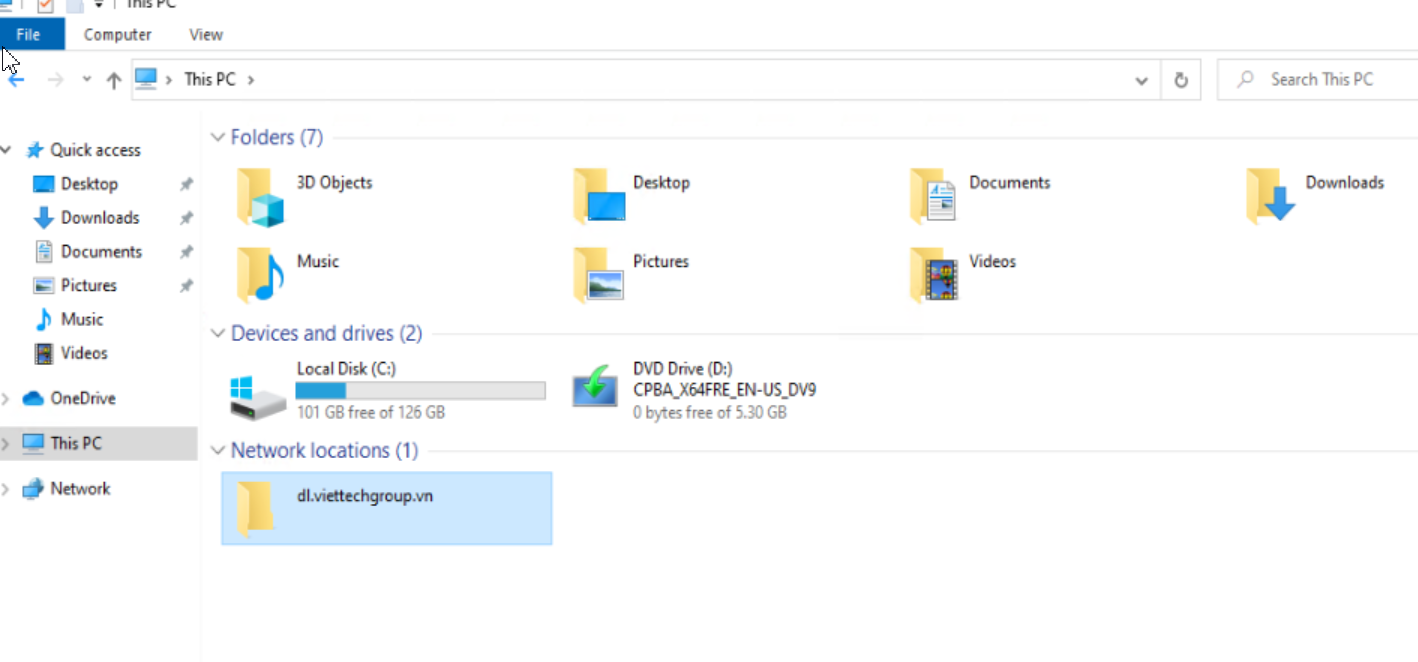
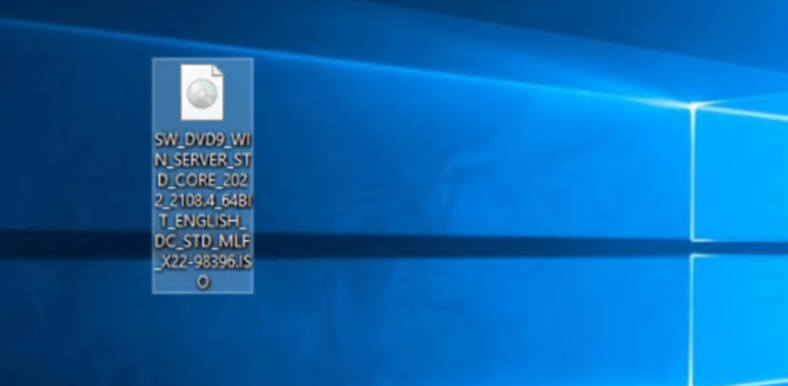
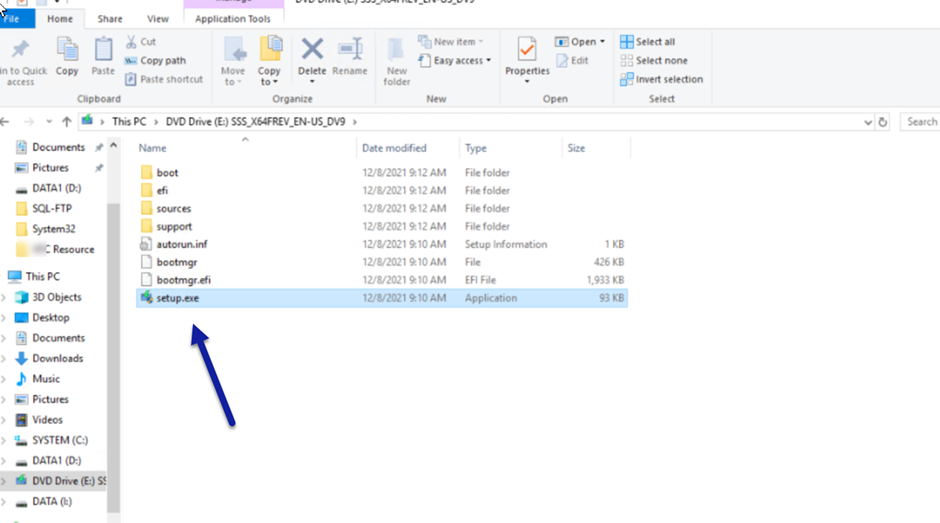
Chuẩn bị source
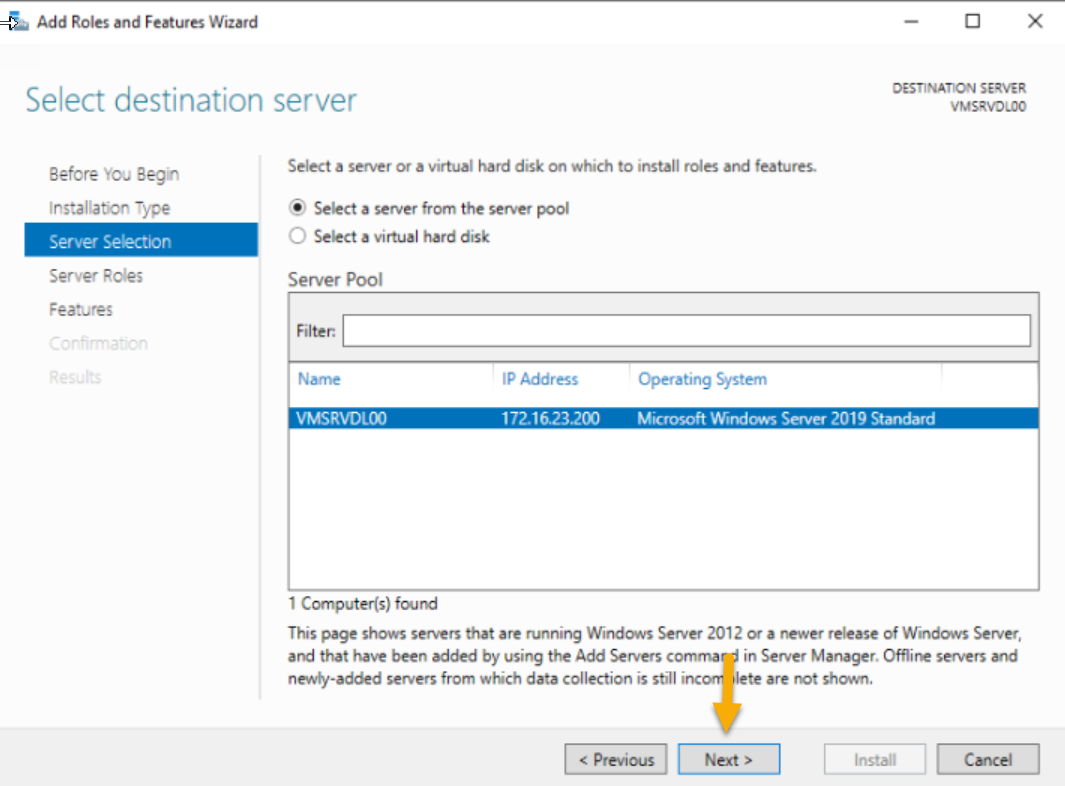
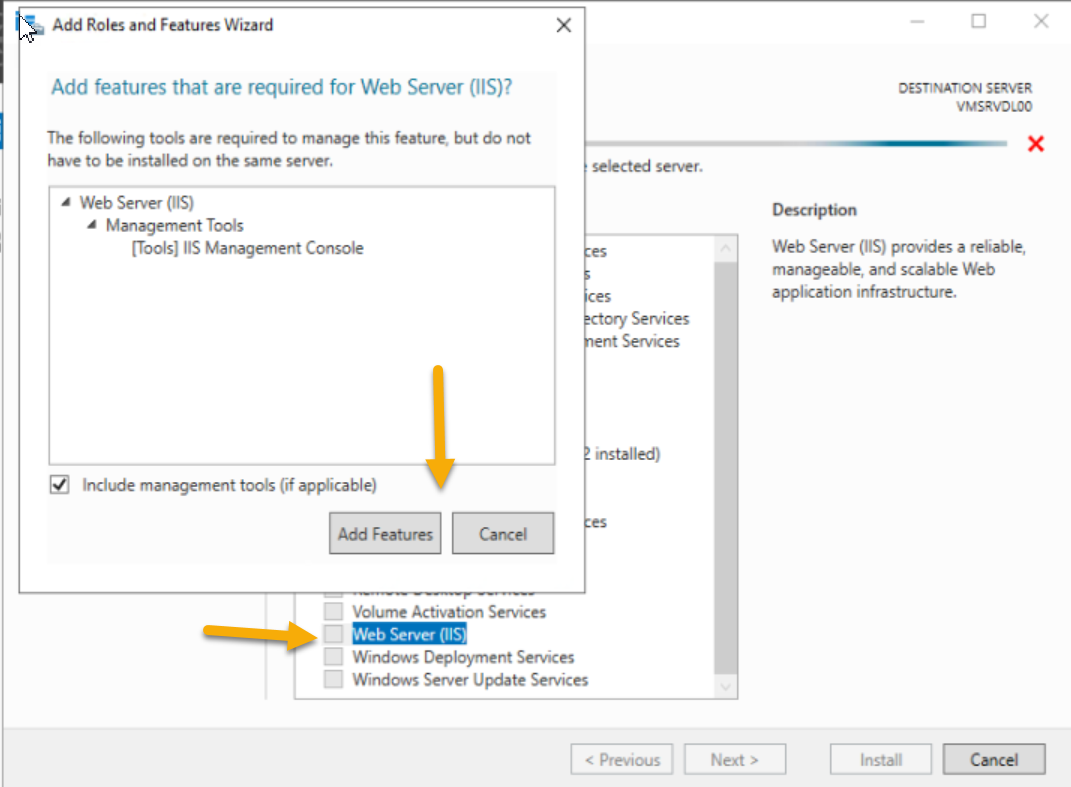
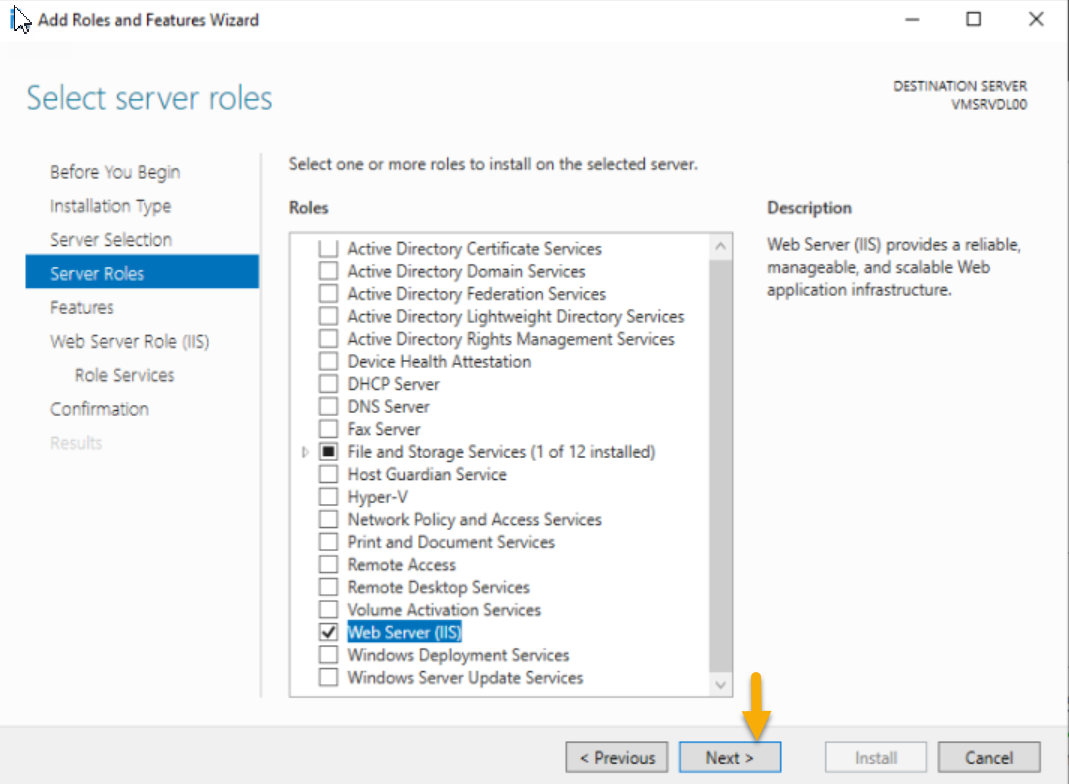
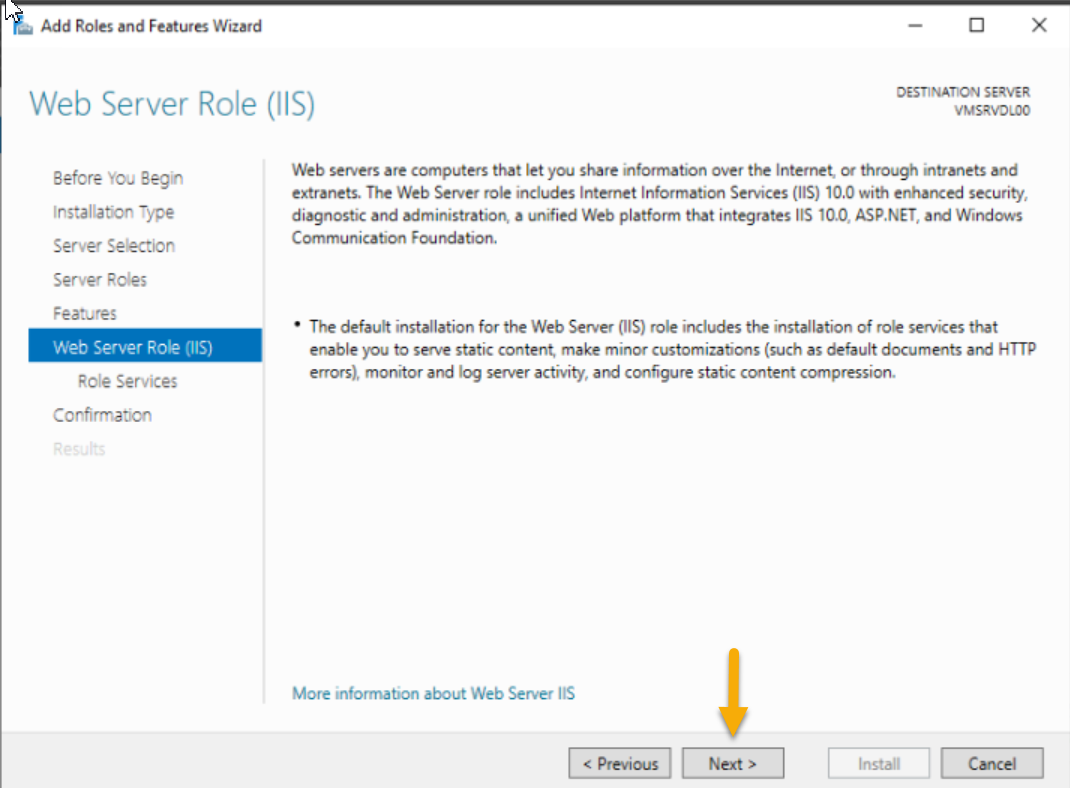
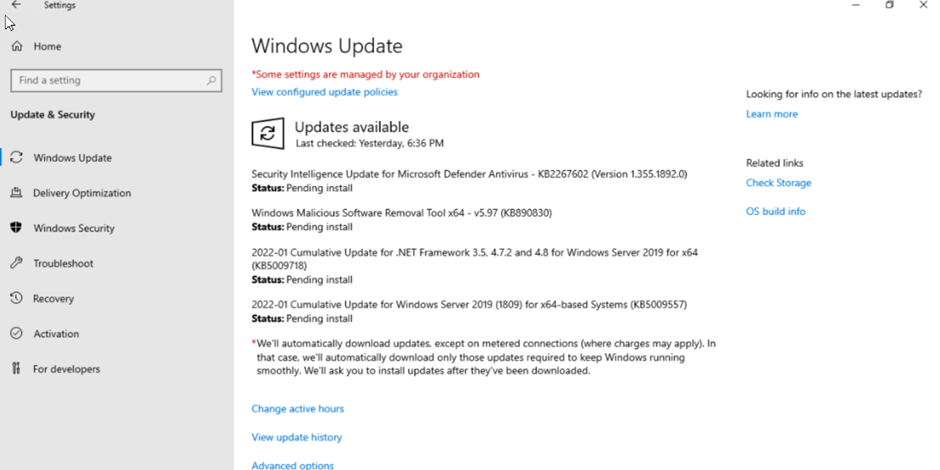
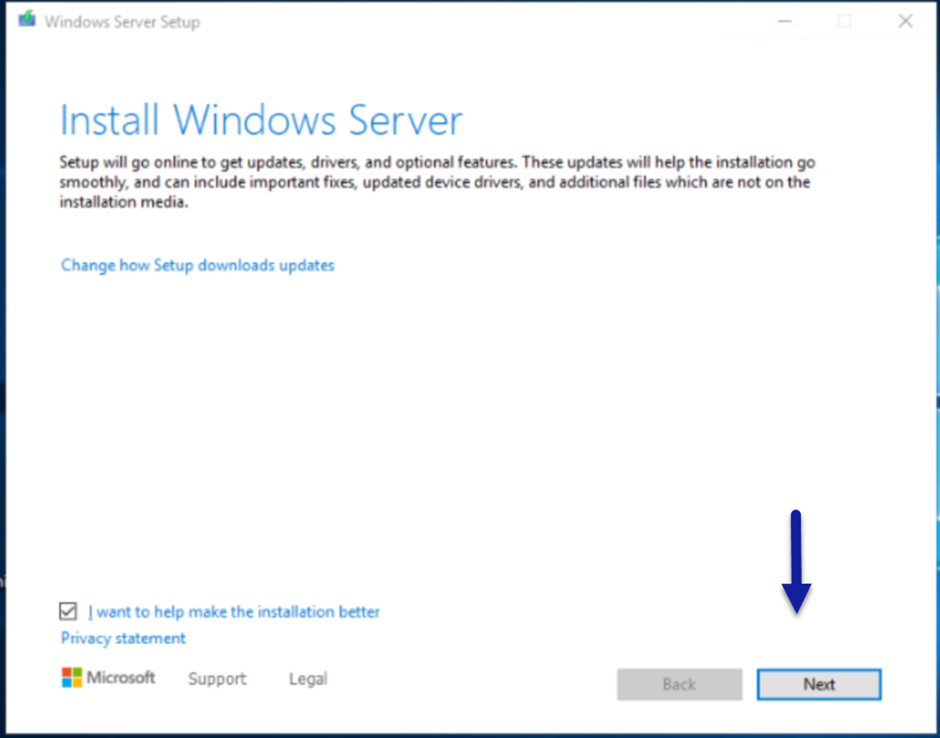
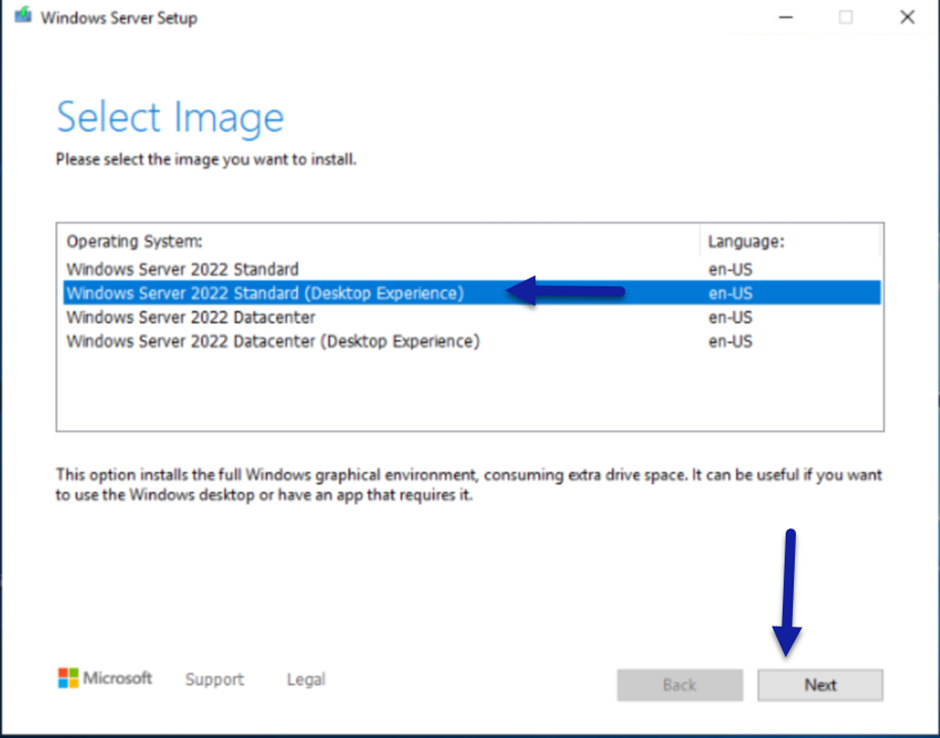
Setup
Logon domain Administrator
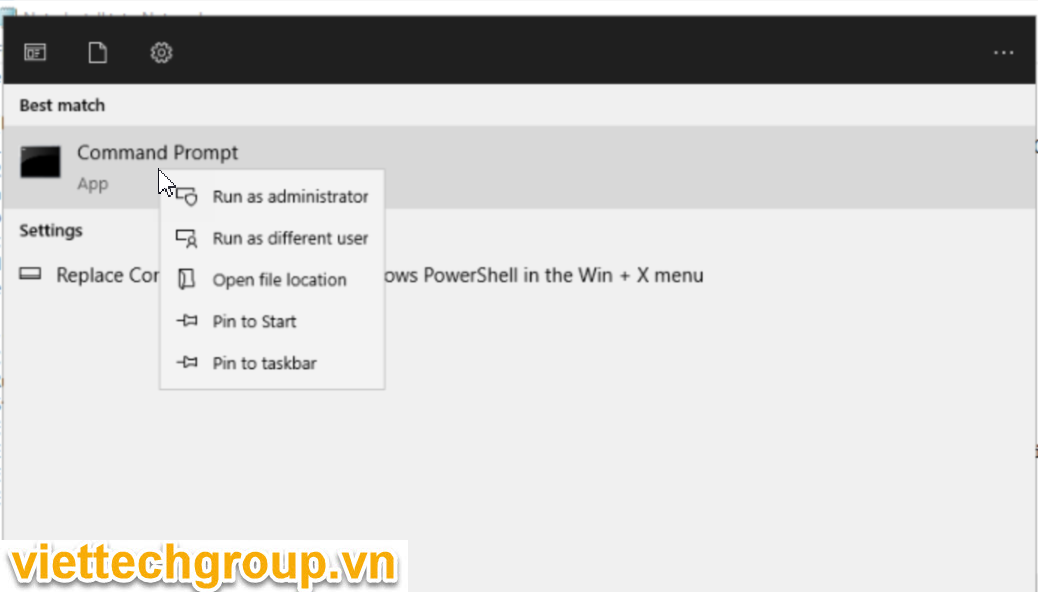
Run as administrator
Cài đặt thư viện powershell
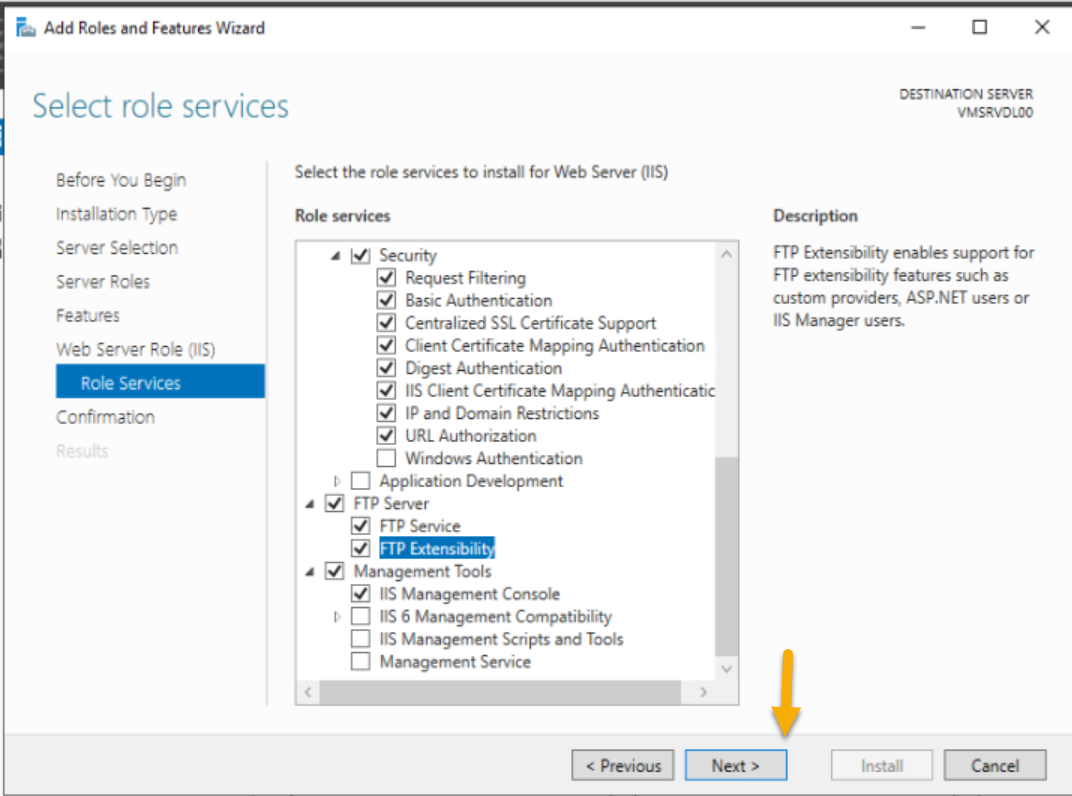
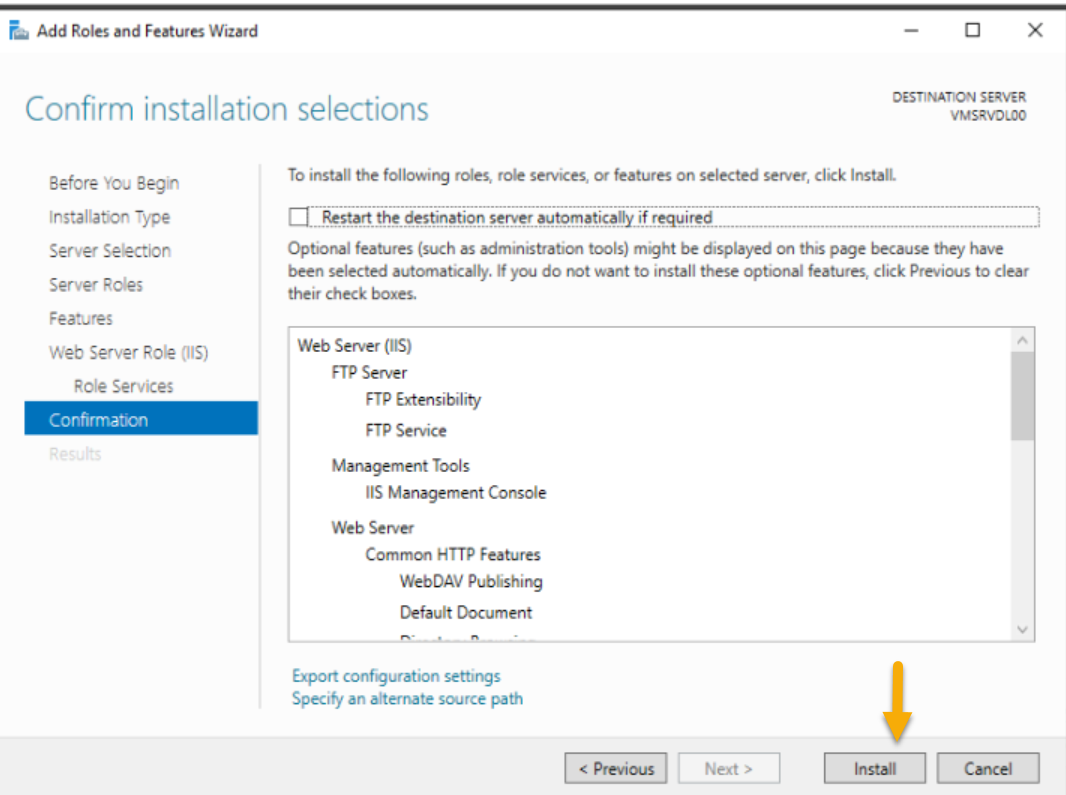
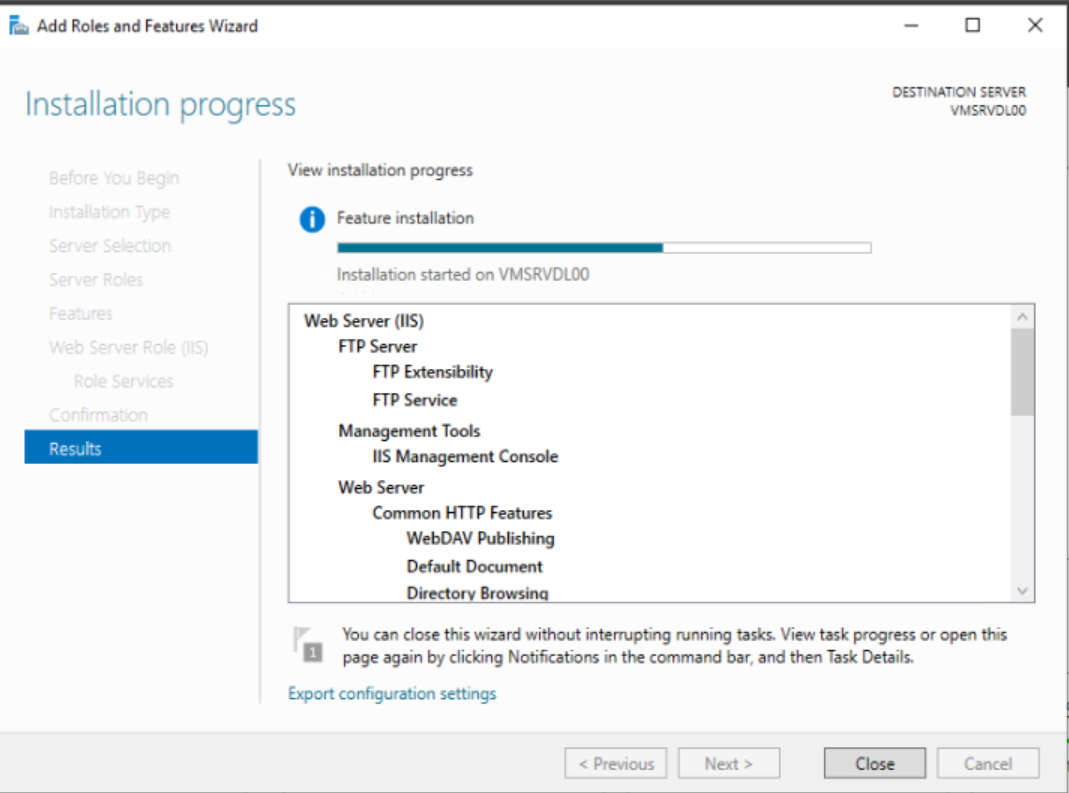
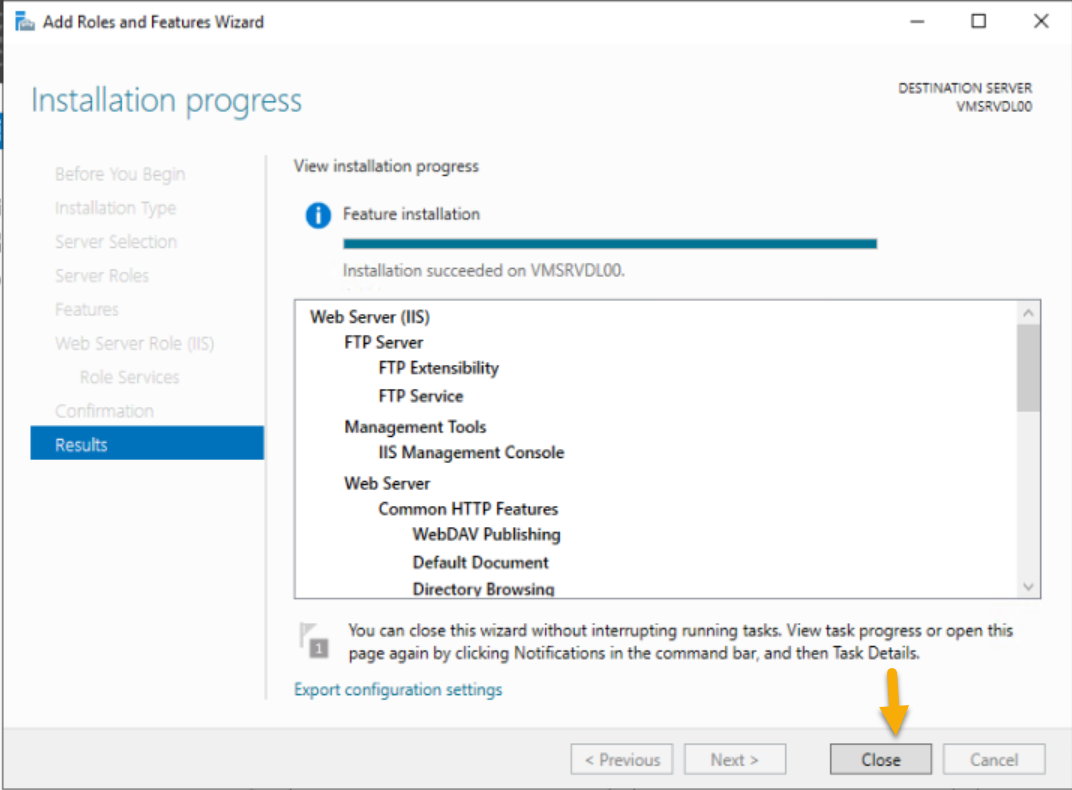
Install-WindowsFeature Server-Media-Foundation, NET-Framework-45-Features, RPC-over-HTTP-proxy, RSAT-Clustering, RSAT-Clustering-CmdInterface, RSAT-Clustering-Mgmt, RSAT-Clustering-PowerShell, WAS-Process-Model, Web-Asp-Net45, Web-Basic-Auth, Web-Client-Auth, Web-Digest-Auth, Web-Dir-Browsing, Web-Dyn-Compression, Web-Http-Errors, Web-Http-Logging, Web-Http-Redirect, Web-Http-Tracing, Web-ISAPI-Ext, Web-ISAPI-Filter, Web-Lgcy-Mgmt-Console, Web-Metabase, Web-Mgmt-Console, Web-Mgmt-Service, Web-Net-Ext45, Web-Request-Monitor, Web-Server, Web-Stat-Compression, Web-Static-Content, Web-Windows-Auth, Web-WMI, Windows-Identity-Foundation, RSAT-ADDS
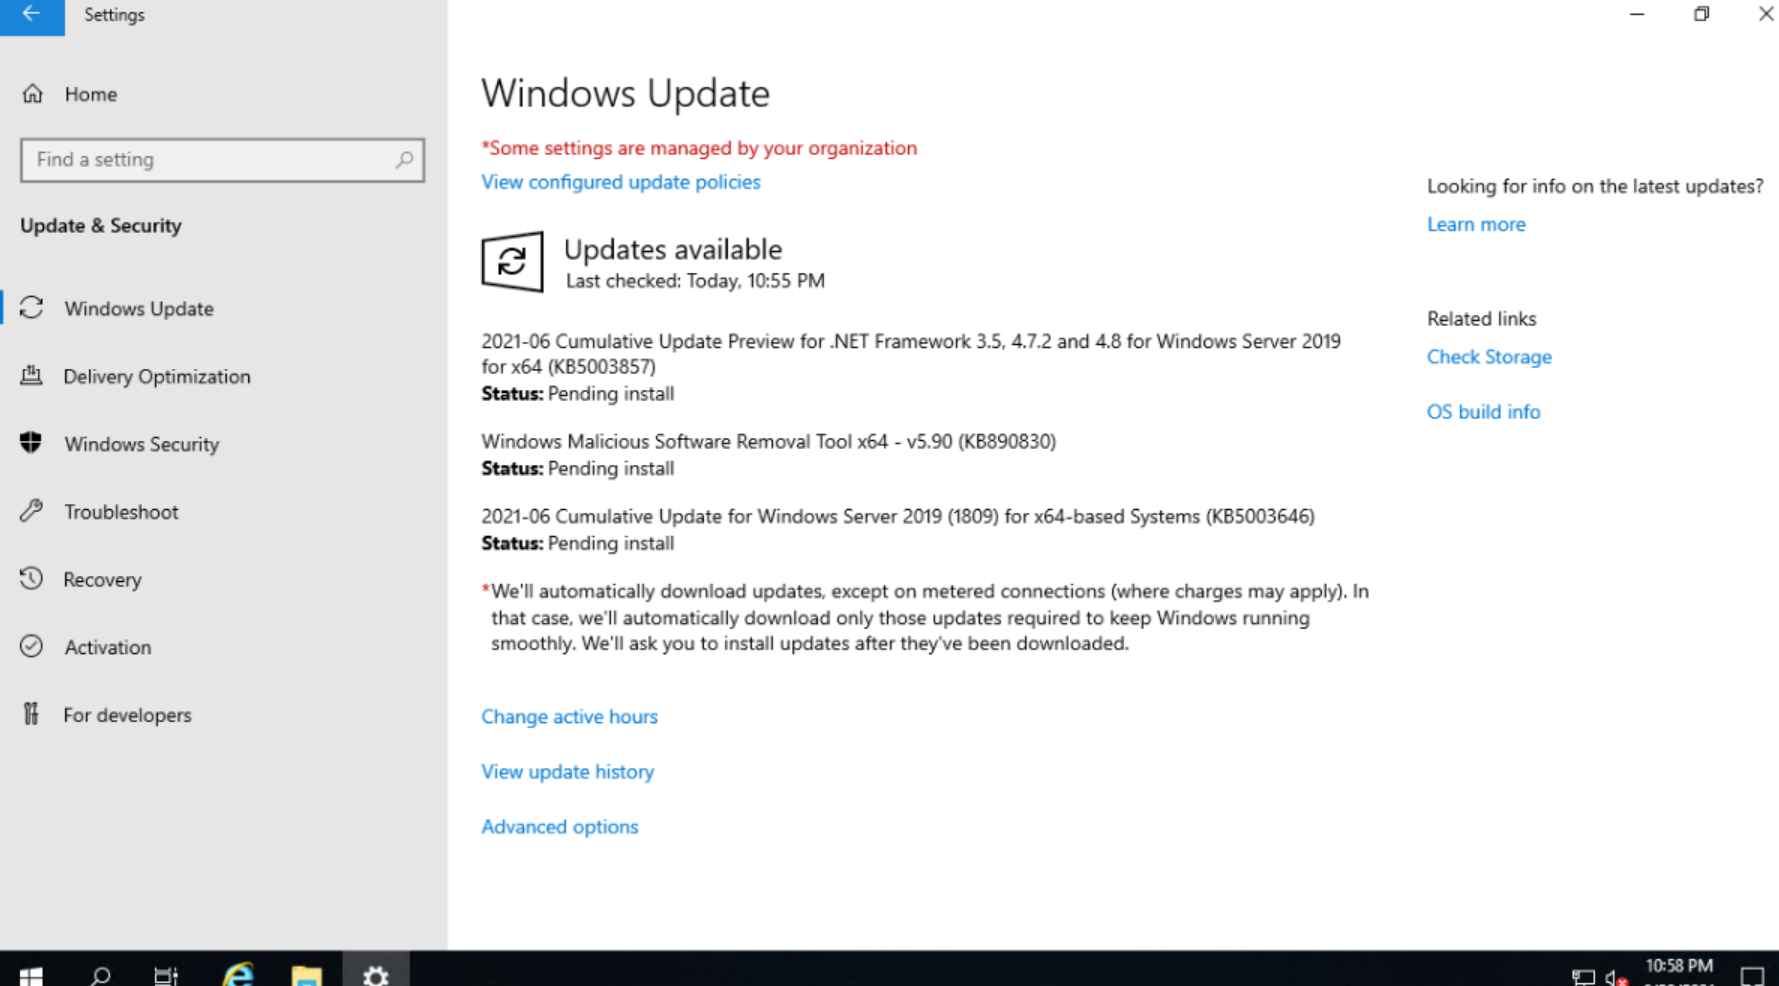
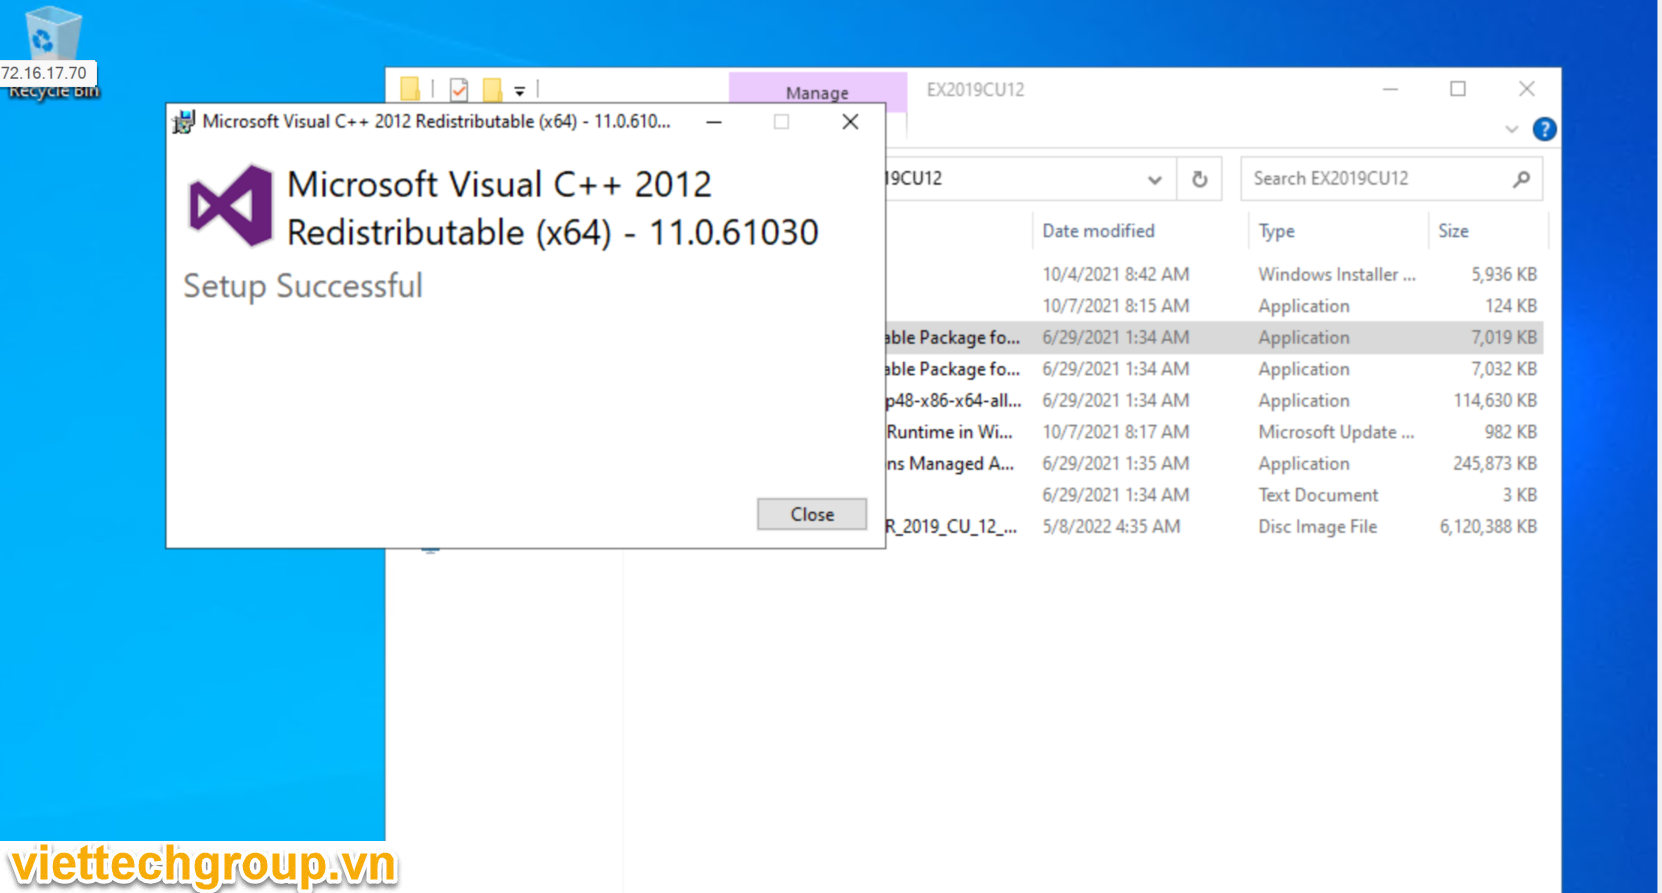
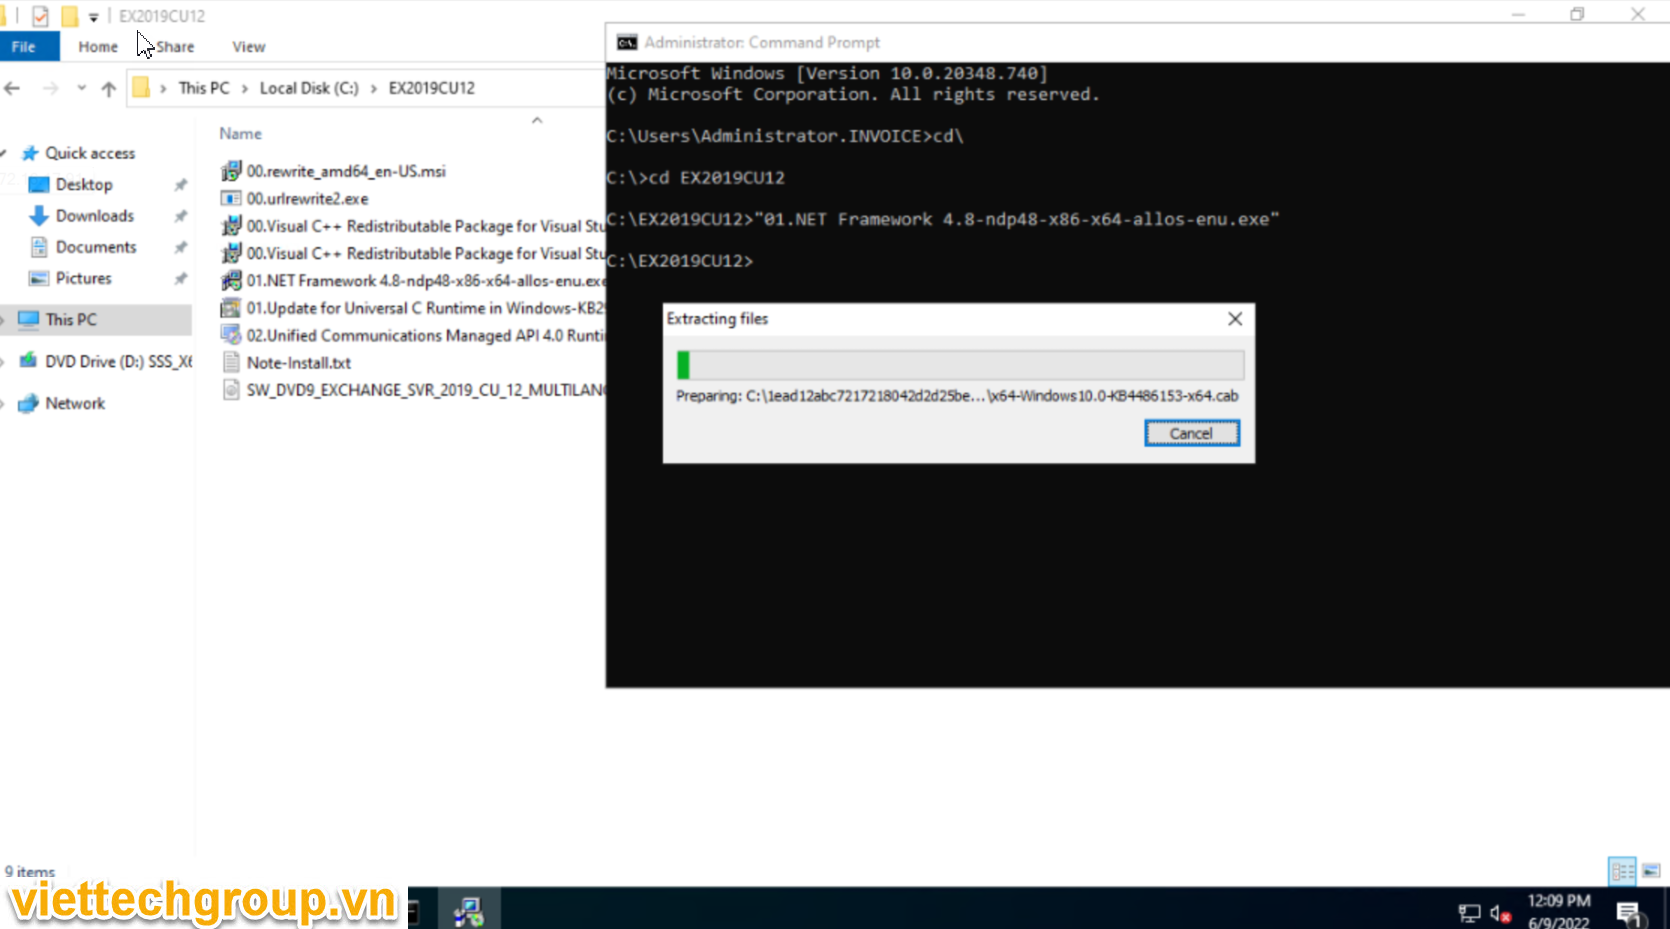
Cài đặt các Thư viện cần thiết runtime
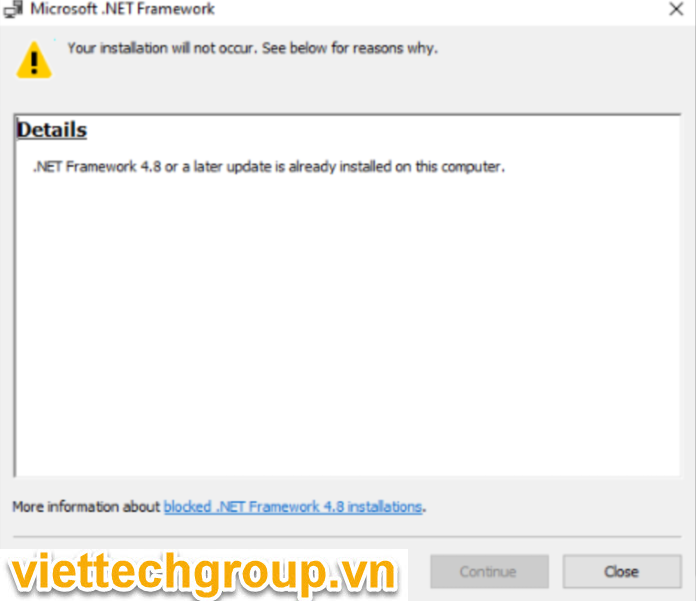
Cài dotnet 4.8
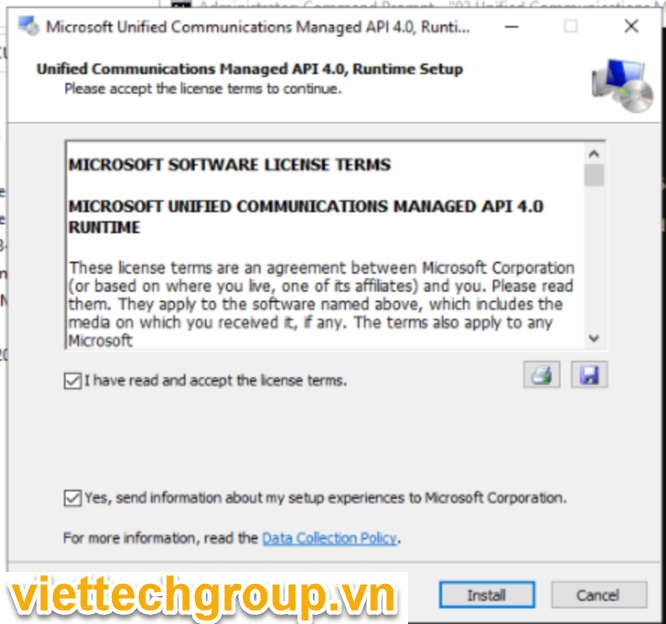
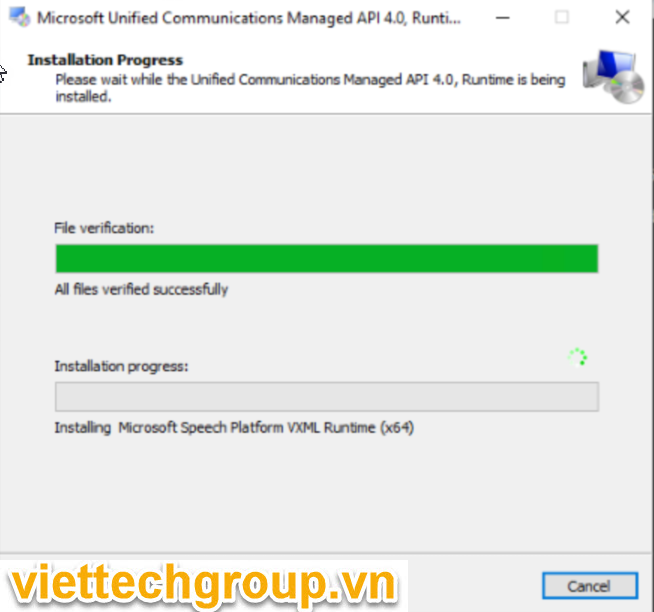
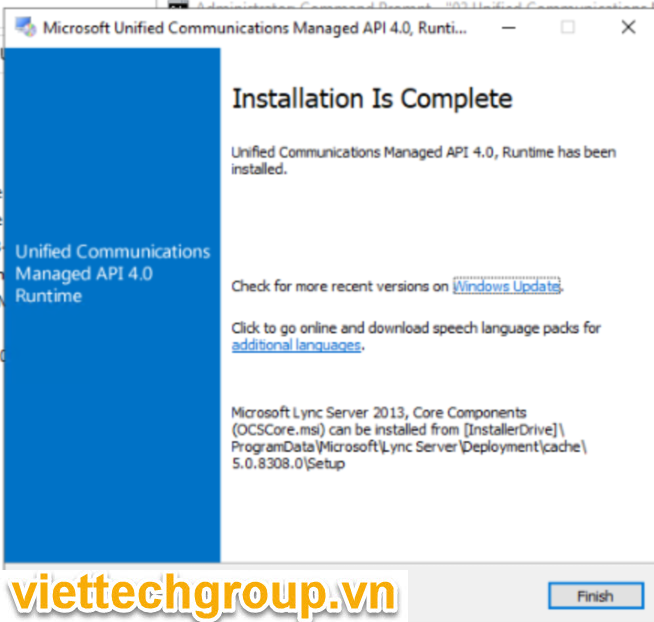
Microsoft Unified Communications Managed API 4.0, Core Runtime 64-bit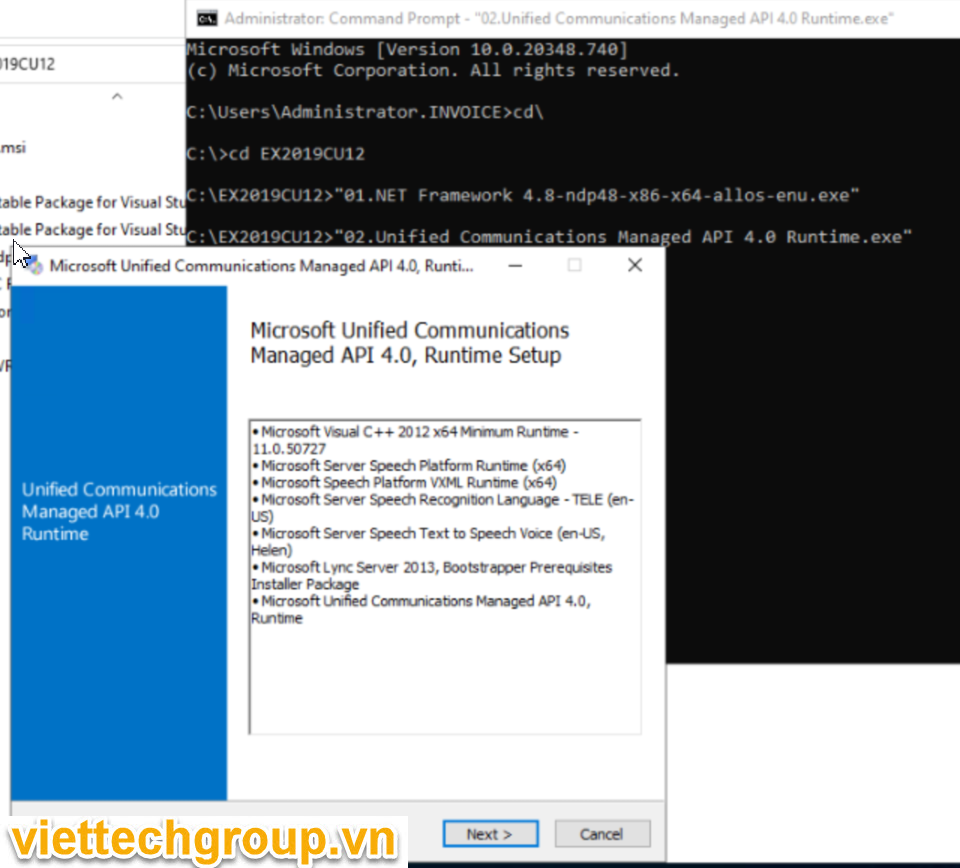
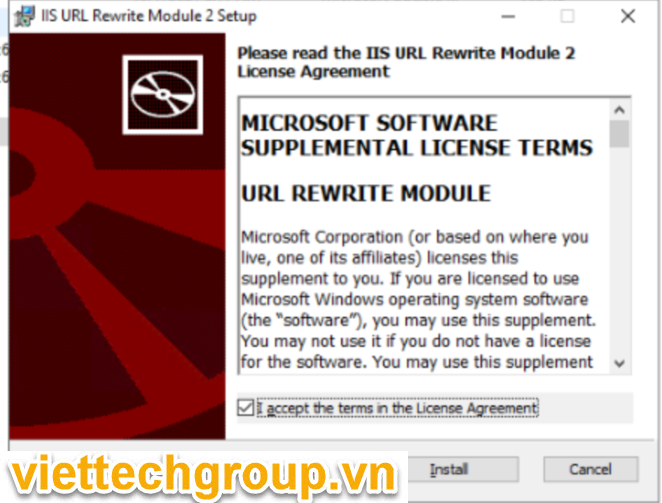
Cài Url Rewrite mode
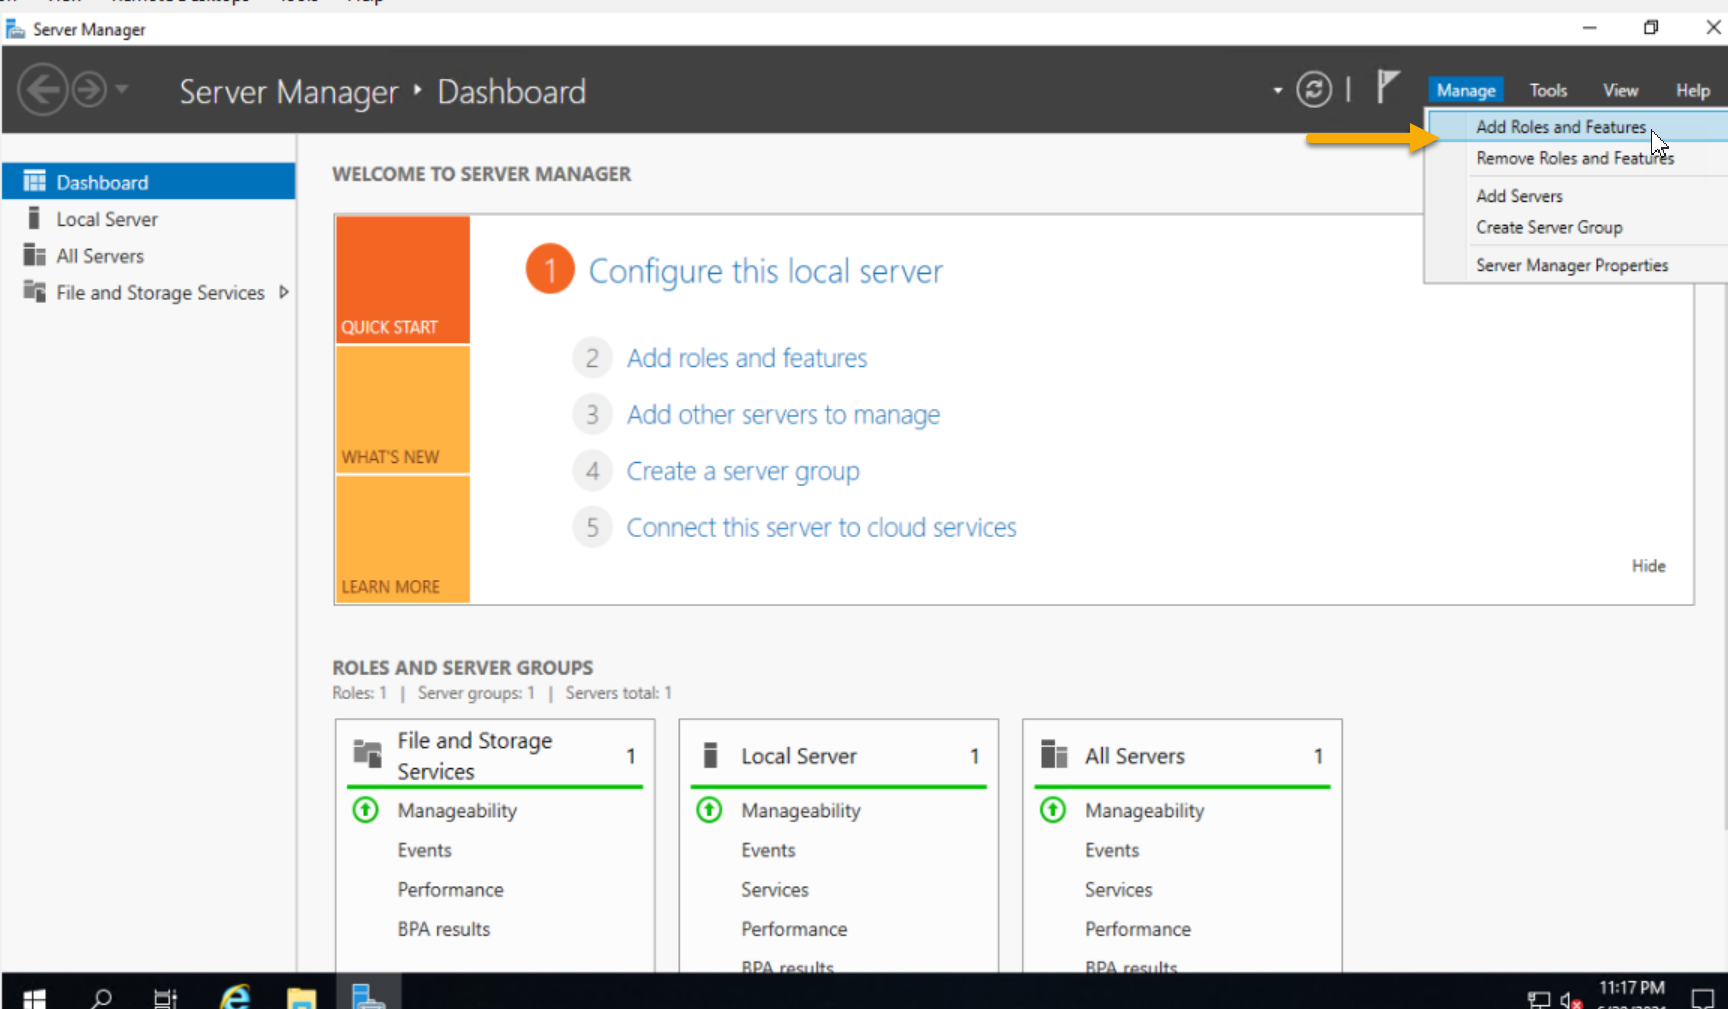
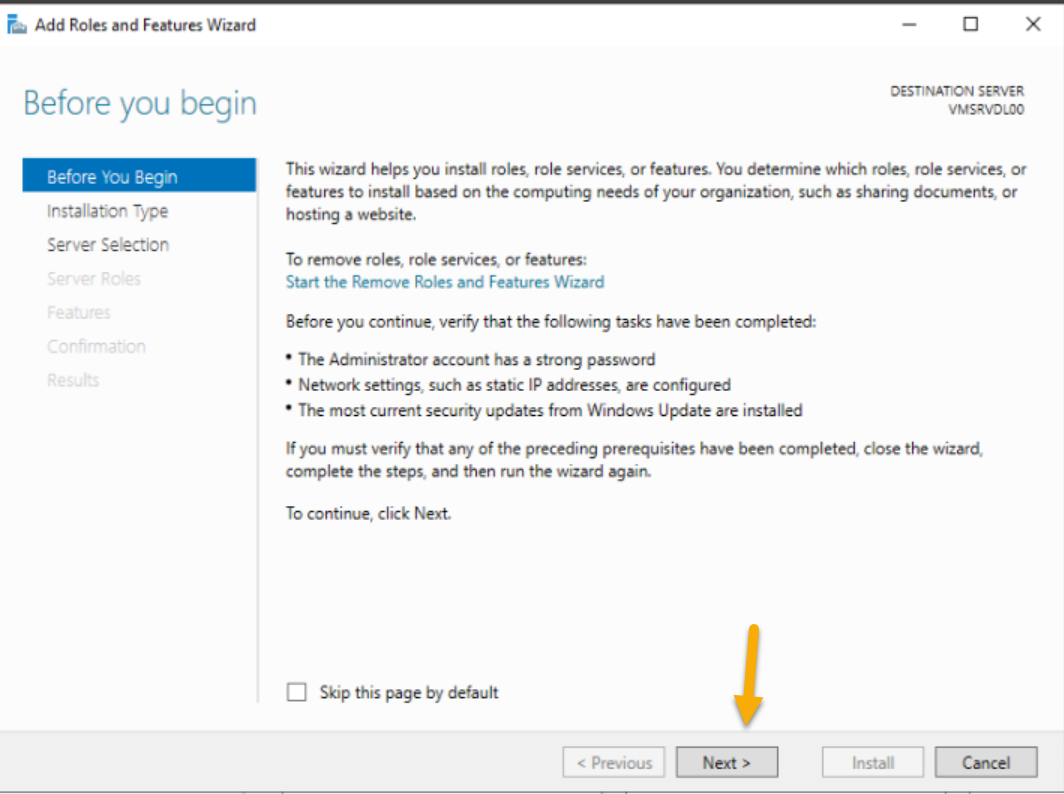
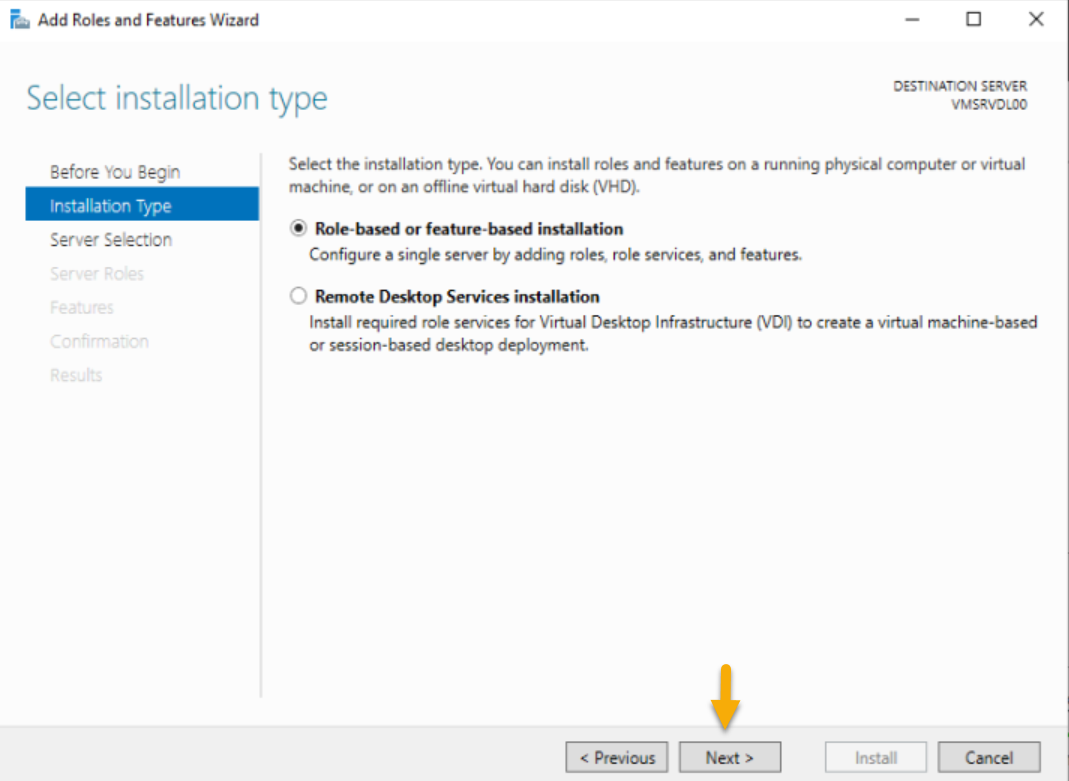
Chuẩn bị Active Directory
Run as Administrator CMD
Step 1: Extend the Active Directory schema
C:\EX2019CU12\EX2019CU12>Setup.exe /IAcceptExchangeServerLicenseTerms_DiagnosticDataON /PrepareSchema

Microsoft Exchange Server 2019 Cumulative Update 12 Unattended Setup

Copying Files...

File copy complete. Setup will now collect additional information needed for installation.

Performing Microsoft Exchange Server Prerequisite Check

Prerequisite Analysis COMPLETED

Configuring Microsoft Exchange Server

Extending Active Directory schema COMPLETED

The Exchange Server setup operation completed successfully.

C:\EX2019CU12\EX2019CU12>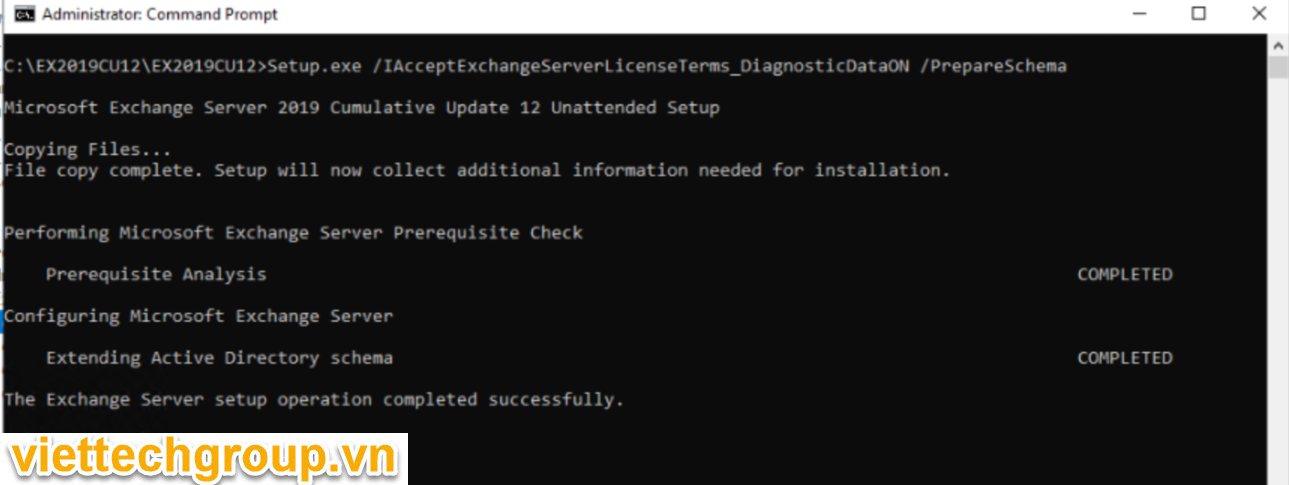
Setup.exe /IAcceptExchangeServerLicenseTerms_DiagnosticDataON /PrepareAD /OrganizationName:”Services Invoice”
C:\EX2019CU12\EX2019CU12>Setup.exe /IAcceptExchangeServerLicenseTerms_DiagnosticDataON /PrepareAD /OrganizationName:"Services Invoice"

Microsoft Exchange Server 2019 Cumulative Update 12 Unattended Setup

Copying Files...

File copy complete. Setup will now collect additional information needed for installation.

Performing Microsoft Exchange Server Prerequisite Check

Prerequisite Analysis 100%

Setup will prepare the organization for Exchange Server 2019 by using 'Setup /PrepareAD'. No Exchange Server 2016 roles

have been detected in this topology. After this operation, you will not be able to install any Exchange Server 2016

roles.

For more information, visit: https://docs.microsoft.com/Exchange/plan-and-deploy/deployment-ref/readiness-checks?view=exchserver-2019

Setup will prepare the organization for Exchange Server 2019 by using 'Setup /PrepareAD'. No Exchange Server 2013 roles

have been detected in this topology. After this operation, you will not be able to install any Exchange Server 2013

roles.

For more information, visit: https://docs.microsoft.com/Exchange/plan-and-deploy/deployment-ref/readiness-checks?view=exchserver-2019

Configuring Microsoft Exchange Server

Organization Preparation COMPLETED

The Exchange Server setup operation completed successfully.

C:\EX2019CU12\EX2019CU12>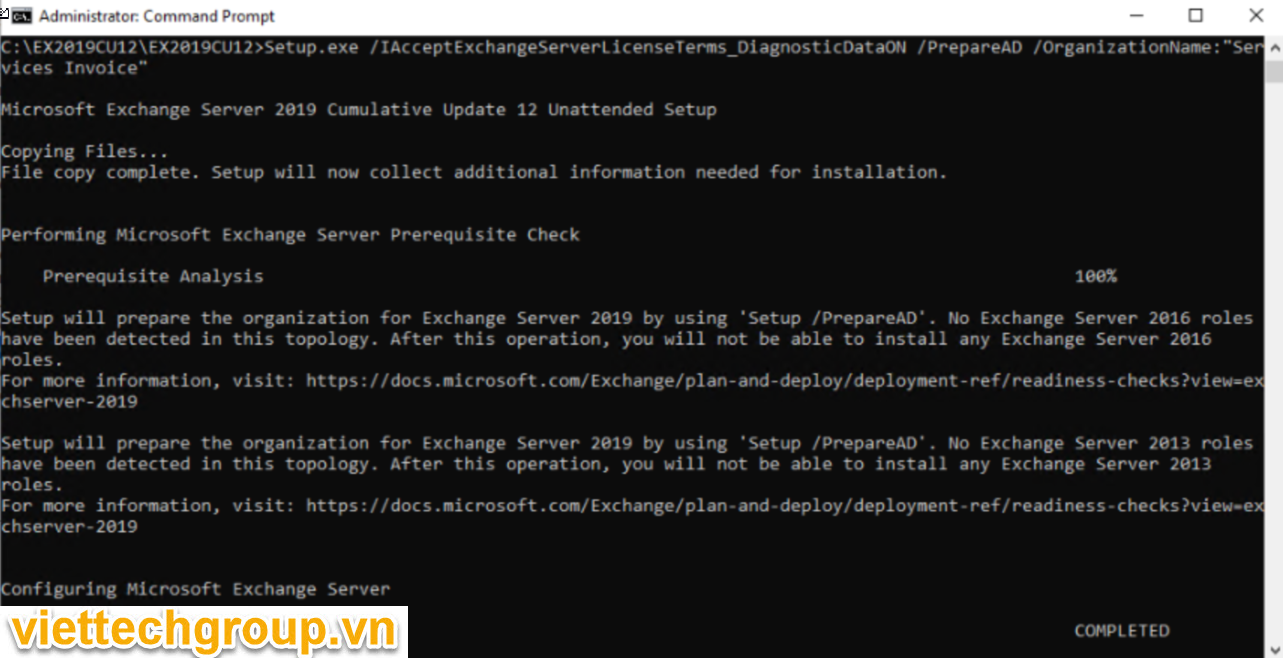
C:\EX2019CU12\EX2019CU12>Setup.exe /IAcceptExchangeServerLicenseTerms_DiagnosticDataON /PrepareDomain

Microsoft Exchange Server 2019 Cumulative Update 12 Unattended Setup

Copying Files...

File copy complete. Setup will now collect additional information needed for installation.

Performing Microsoft Exchange Server Prerequisite Check

Prerequisite Analysis COMPLETED

Configuring Microsoft Exchange Server

Prepare Domain Progress COMPLETED

The Exchange Server setup operation completed successfully.

C:\EX2019CU12\EX2019CU12>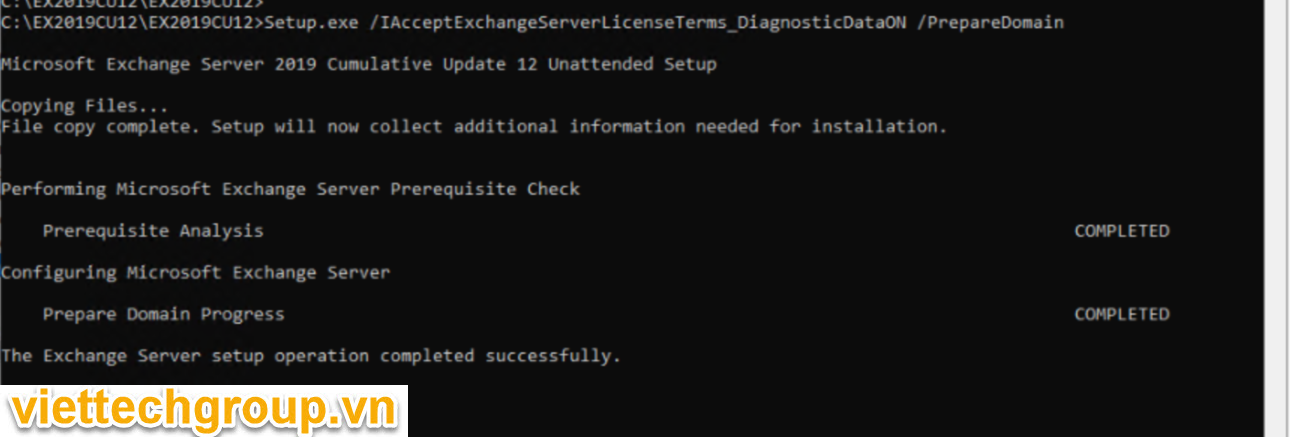
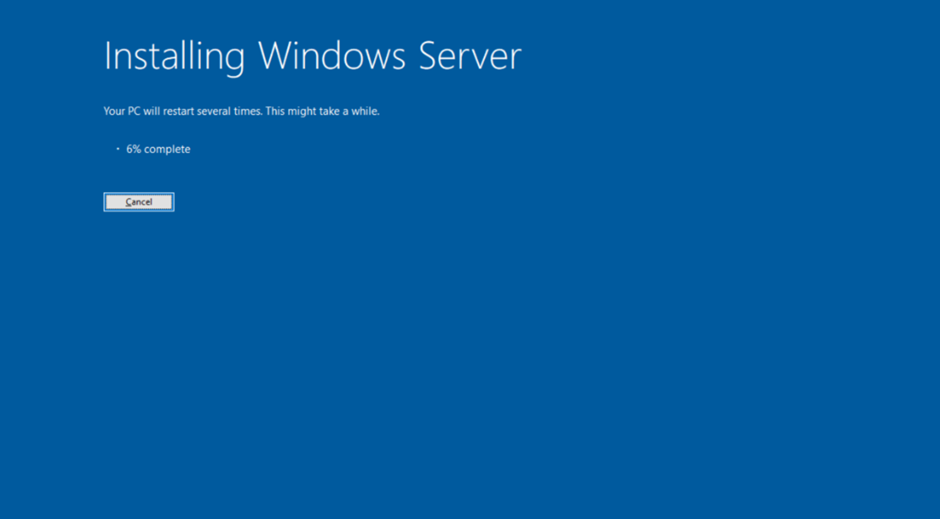
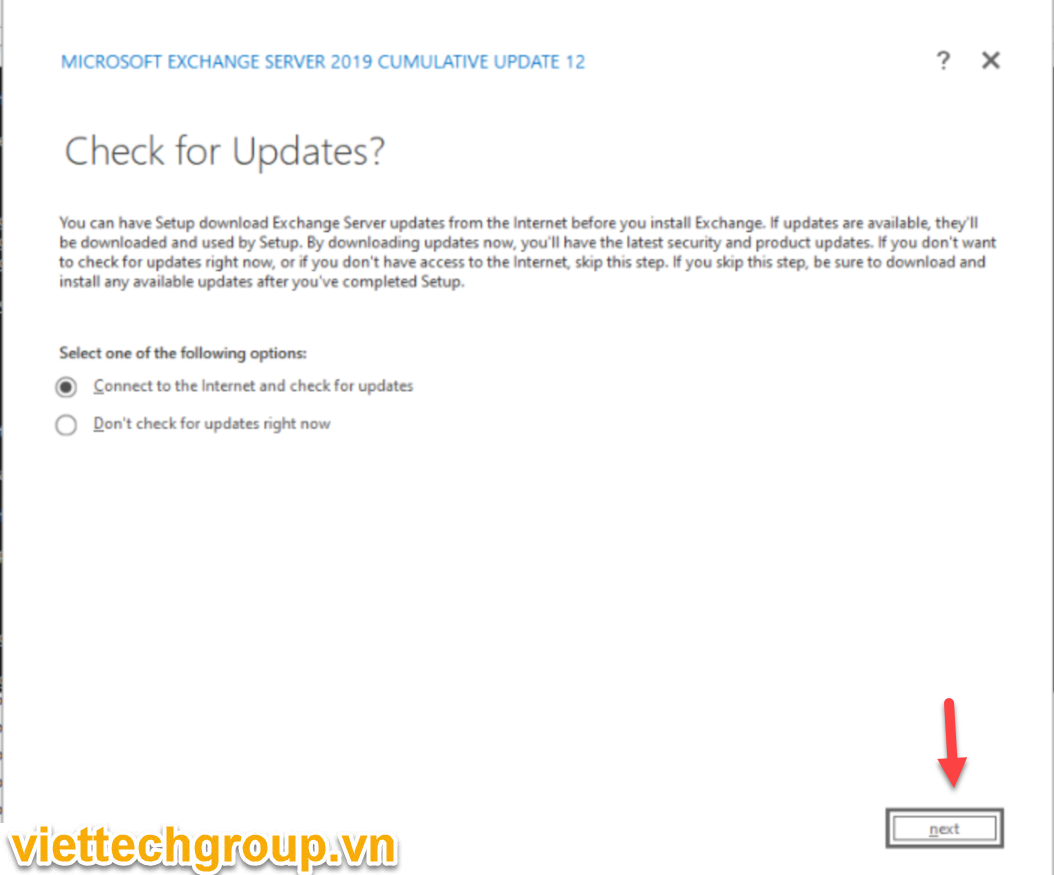
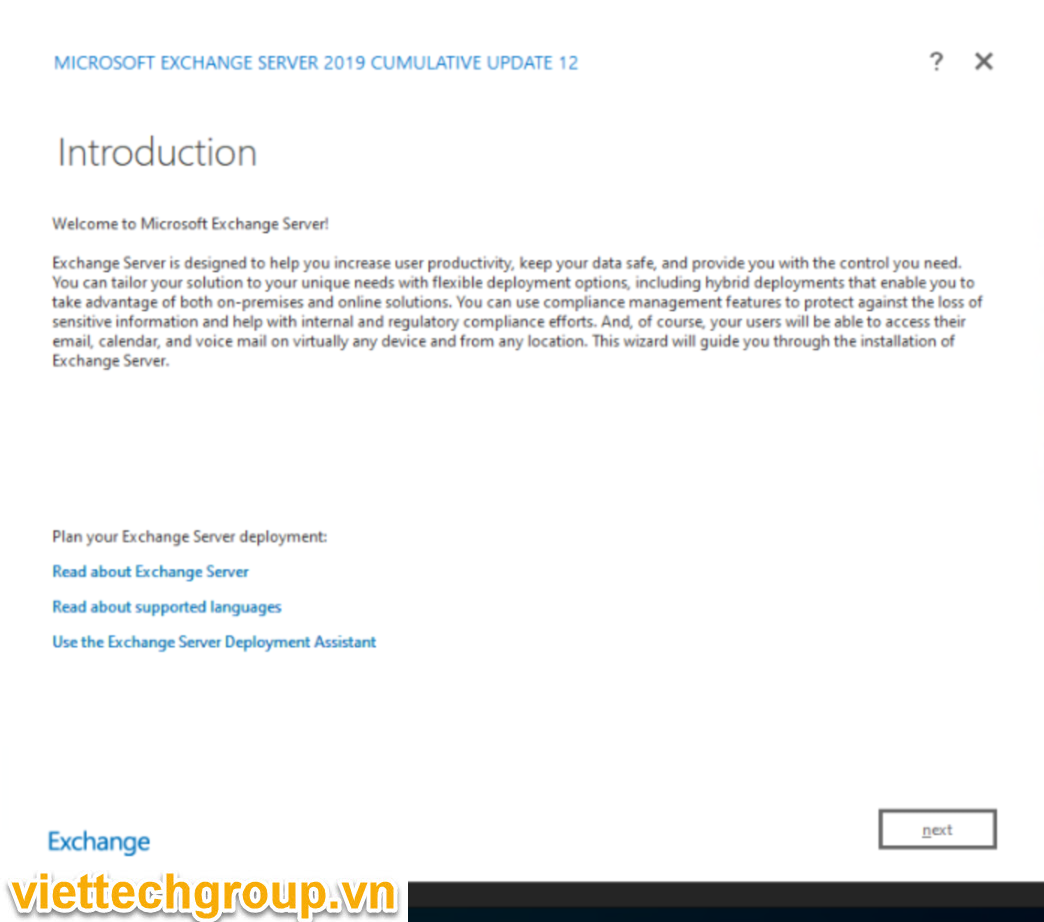
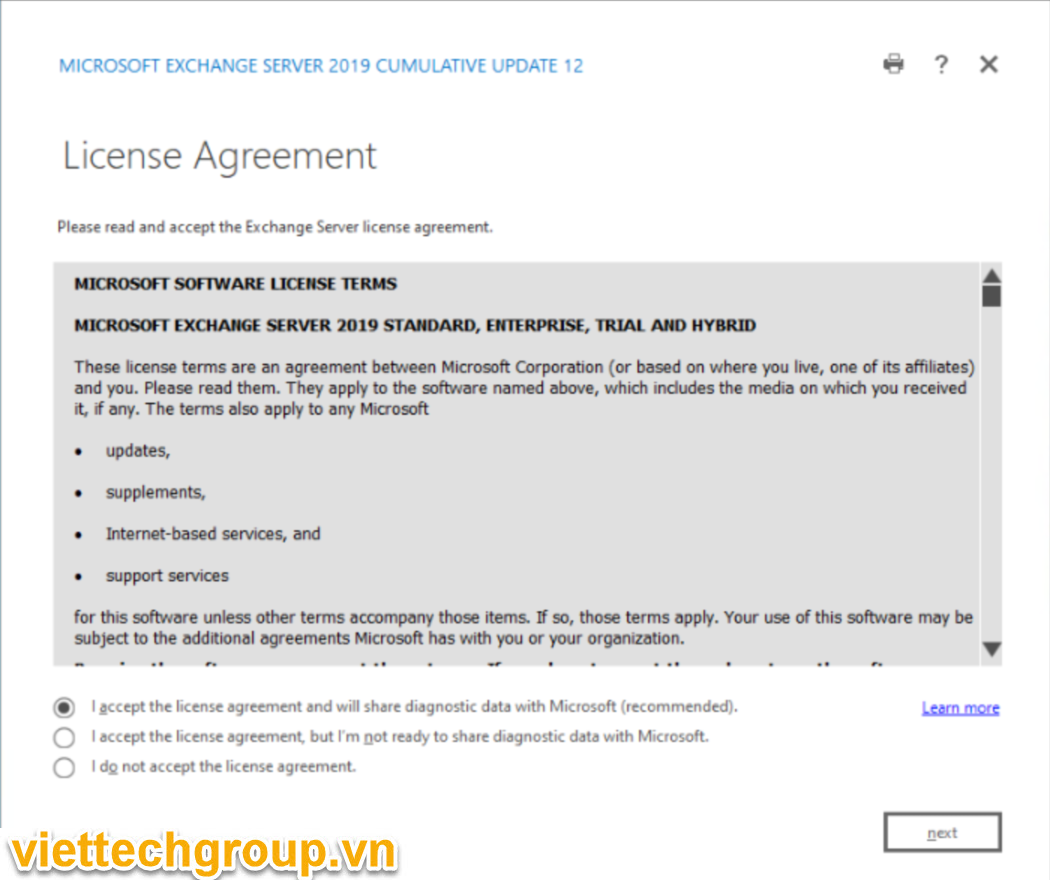
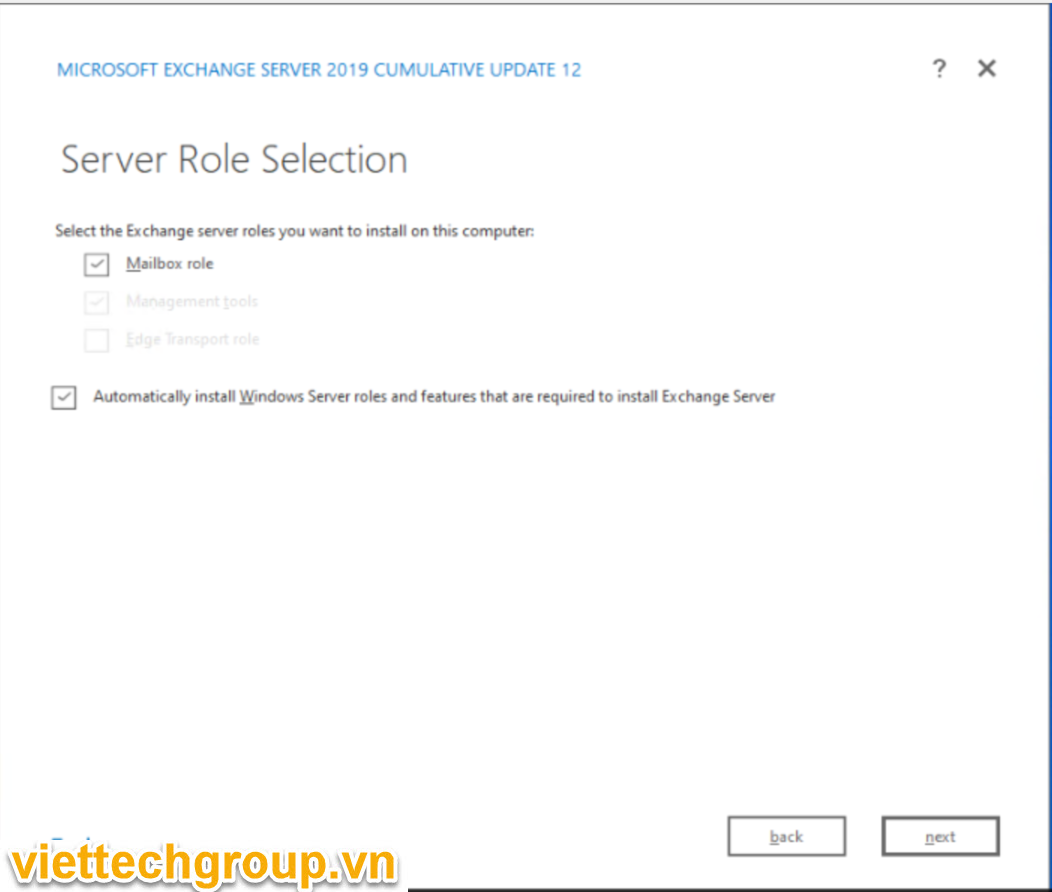
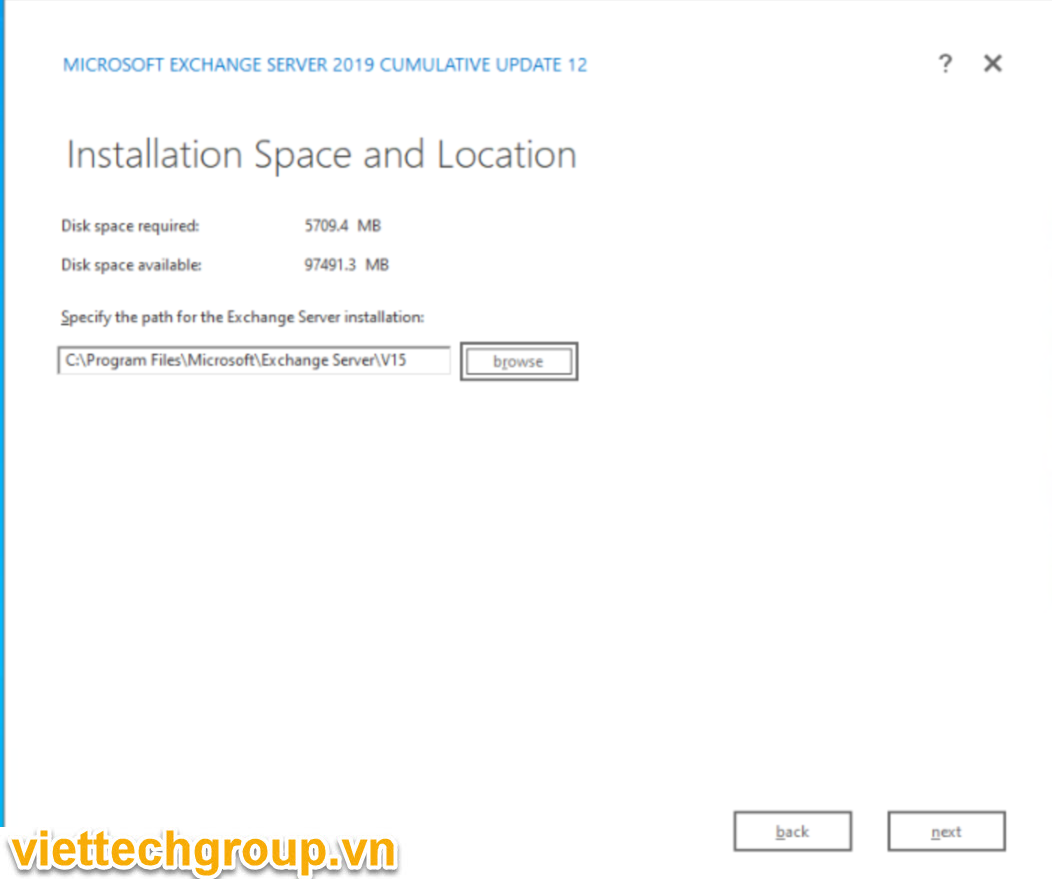
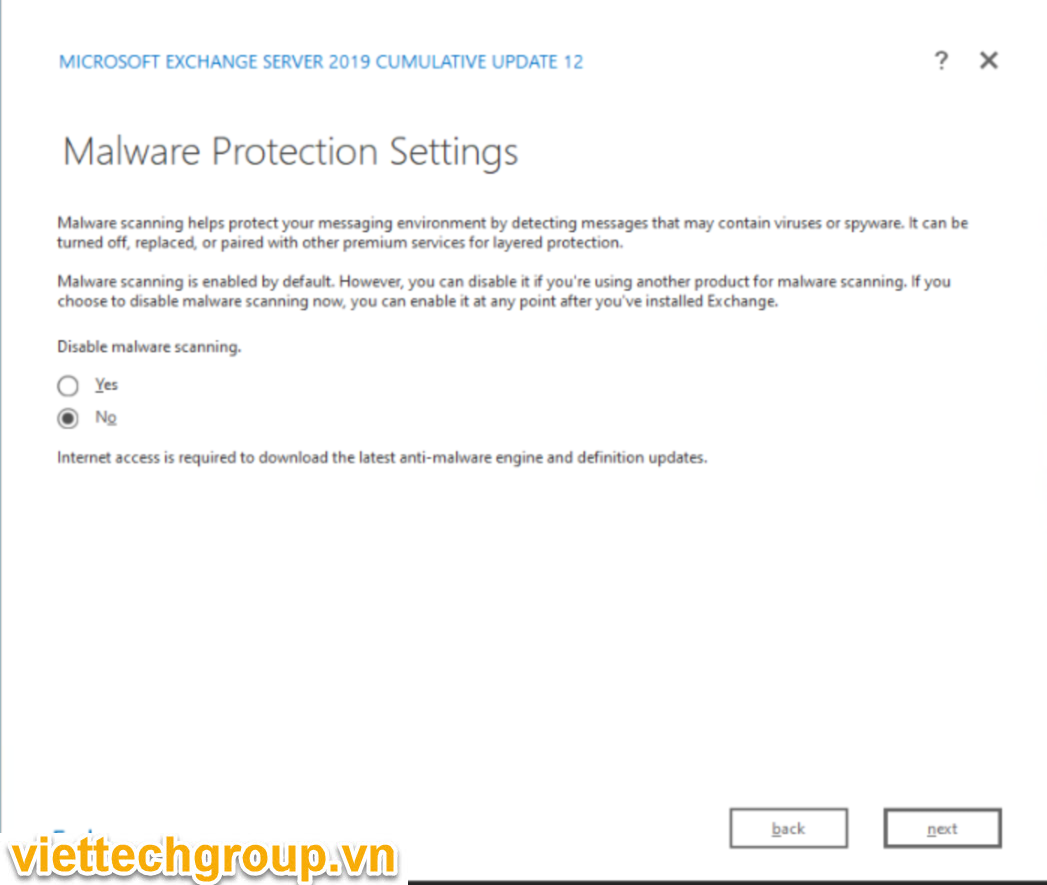
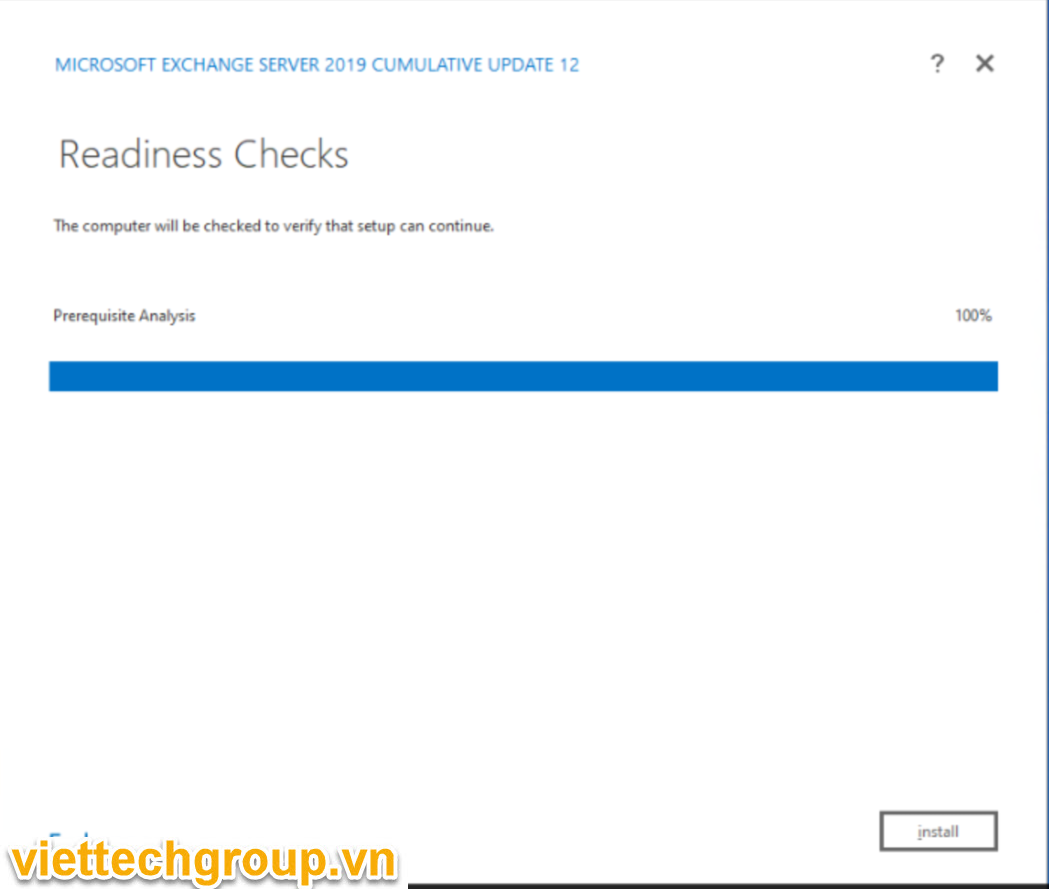
CÀI ĐẶT EXCHANGE 2019 CU12

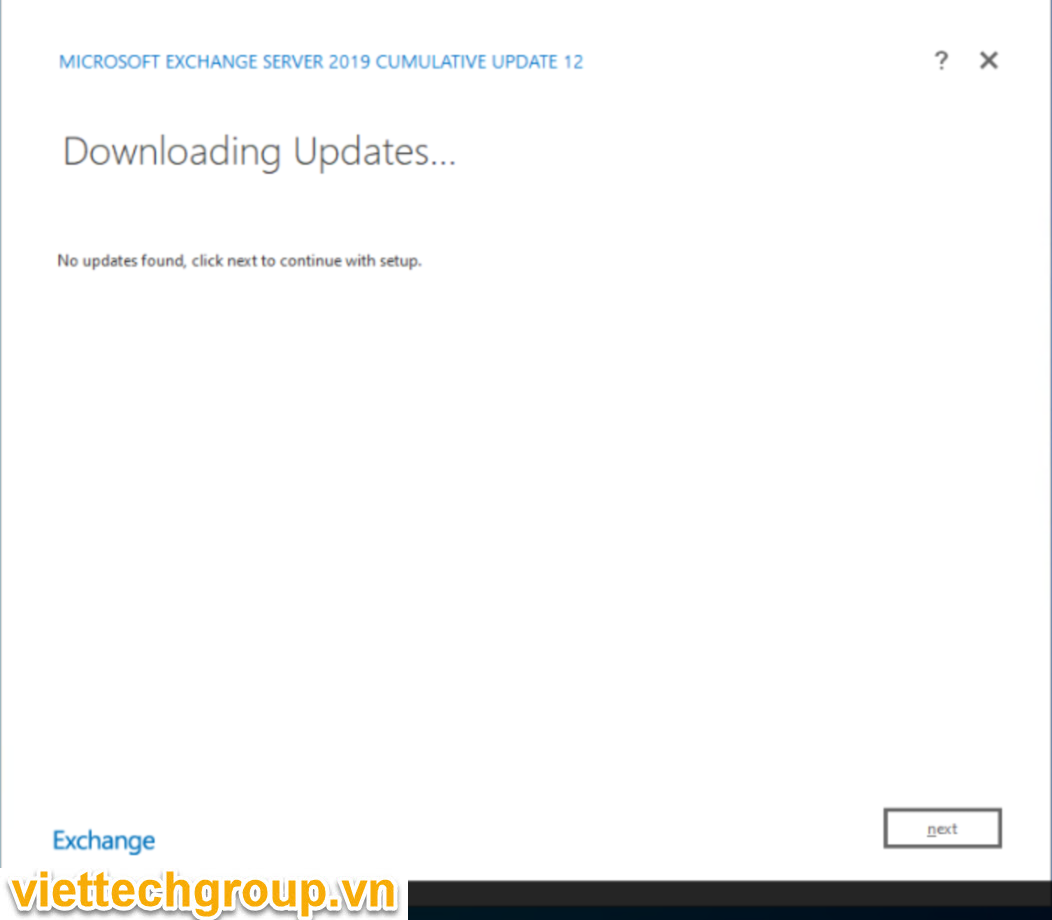

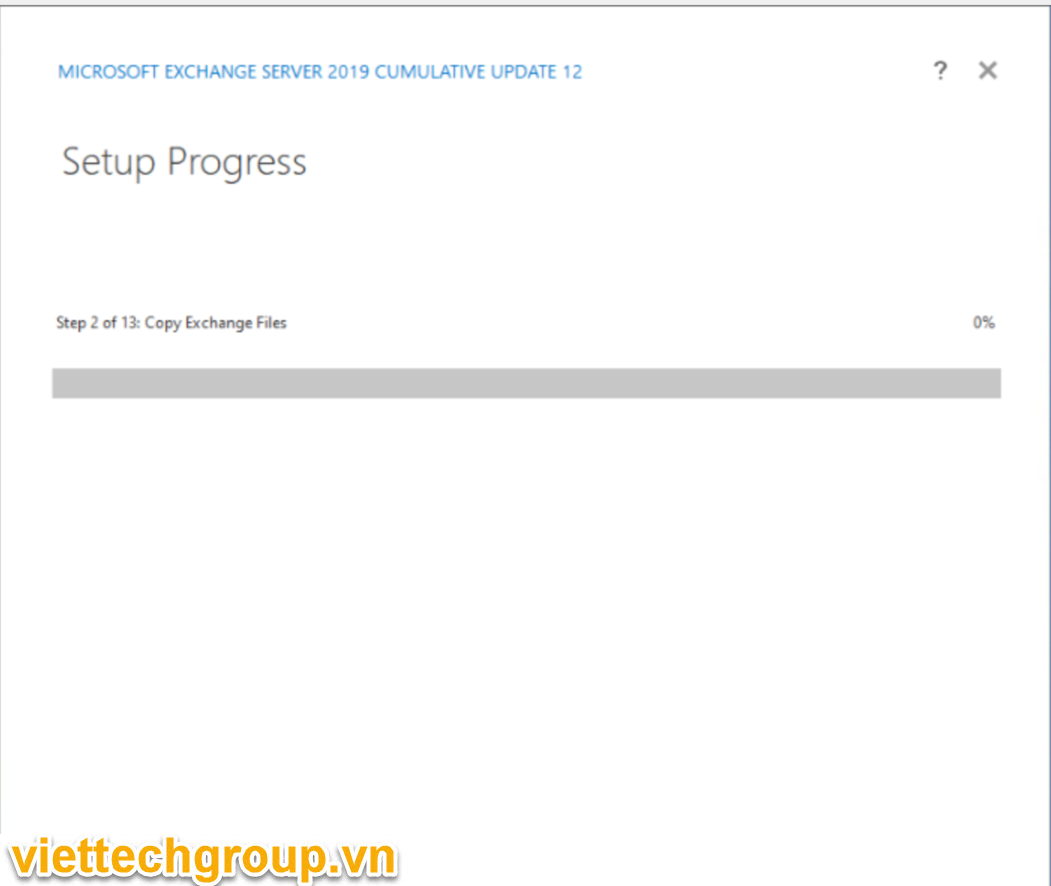
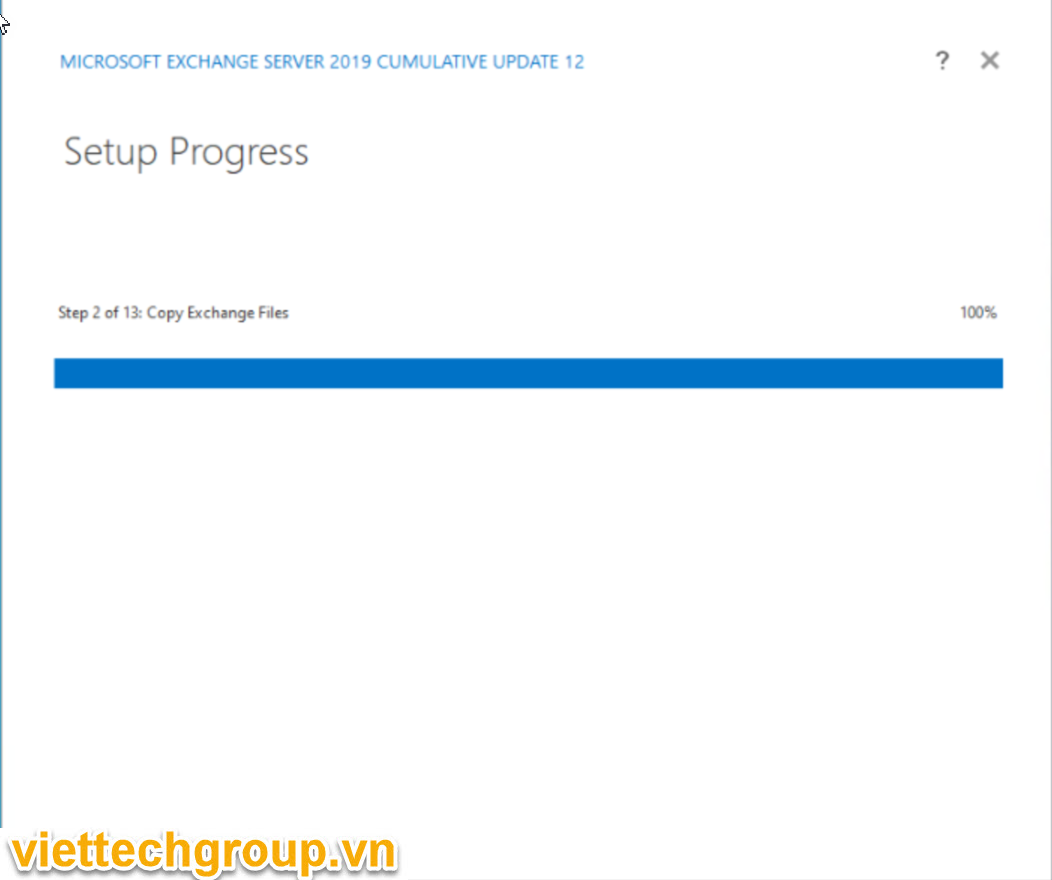
Đến khi cài xong nhé.
Phương Nguyễn Viết