Tác giả: Nguyễn Phương – IT Infra Admin
Ngày cập nhật: 24/05/2025
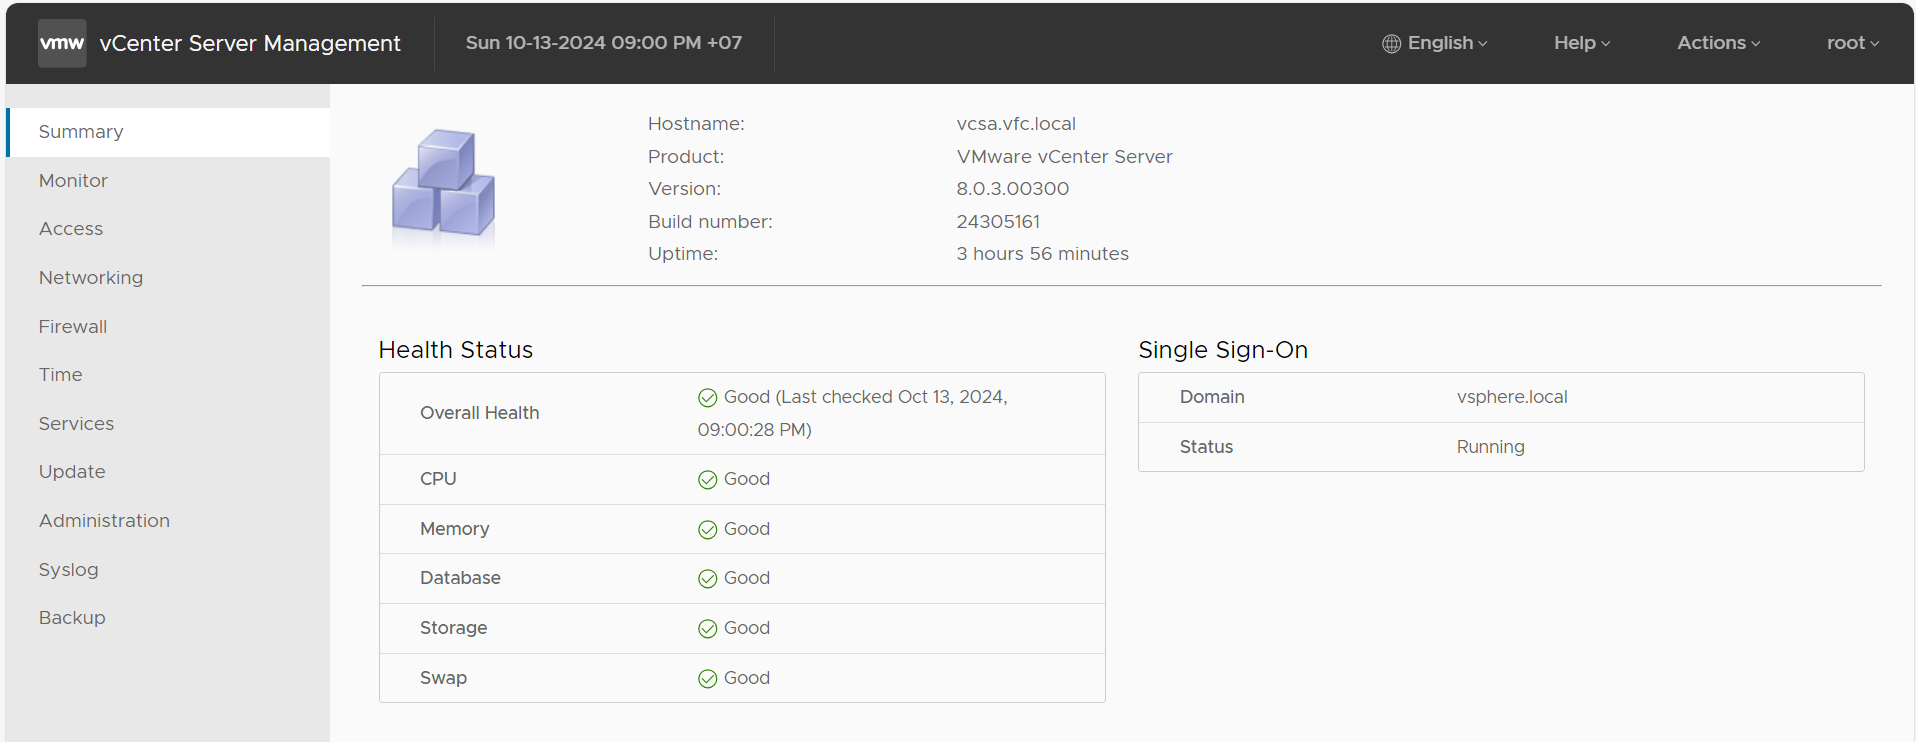
Tình trạng hệ thống: ✅ Đã cập nhật thành công bản vá CVE trên ESXi 8.0U3e (Build 24674464)
❗ Tình hình mới: Không còn cập nhật qua URL cũ
Broadcom chính thức siết quyền cập nhật online đối với VMware ESXi/vCenter. Các đường dẫn cũ sau không còn truy cập được để update:
https://hostupdate.vmware.com <br>https://depot.vmware.com <br>https://vapp-updates.vmware.com <br>🔐 Hệ thống cập nhật mới yêu cầu Download Token từ Broadcom
Nếu bạn có license hợp lệ, cần đăng nhập vào portal Broadcom để tạo Download Token, sử dụng khi cấu hình cập nhật vSphere Lifecycle Manager (vLCM).
Các đường dẫn cập nhật mới có dạng:
bashCopyEdithttps://dl.broadcom.com/<Download Token>/PROD/COMP/ESX_HOST/main/vmw-depot-index.xml
https://dl.broadcom.com/<Download Token>/PROD/COMP/ESX_HOST/addon-main/vmw-depot-index.xml
https://dl.broadcom.com/<Download Token>/PROD/COMP/ESX_HOST/iovp-main/vmw-depot-index.xml
https://dl.broadcom.com/<Download Token>/PROD/COMP/ESX_HOST/vmtools-main/vmw-depot-index.xml
📚 Tài liệu chính thức:
🔗 Broadcom KB 390098 – Lifecycle Manager Token Access
🧠 Các phương án cập nhật hệ thống VMware hiện tại
1. ✅ Cập nhật qua CLI – Dành cho hệ thống Standalone
- Chuẩn bị:
- Tải file
.ziptừ portal Broadcom hoặc từ bạn bè có license. - Upload lên
/vmfs/volumes/datastore1/hoặc thư mục tạm/tmp.
- Tải file
- Lệnh cập nhật: bashCopyEdit
esxcli software profile update -d /vmfs/volumes/datastore1/ESXi-8.0U3e-depot.zip -p ESXi-8.0U3e-0-24674464 reboot
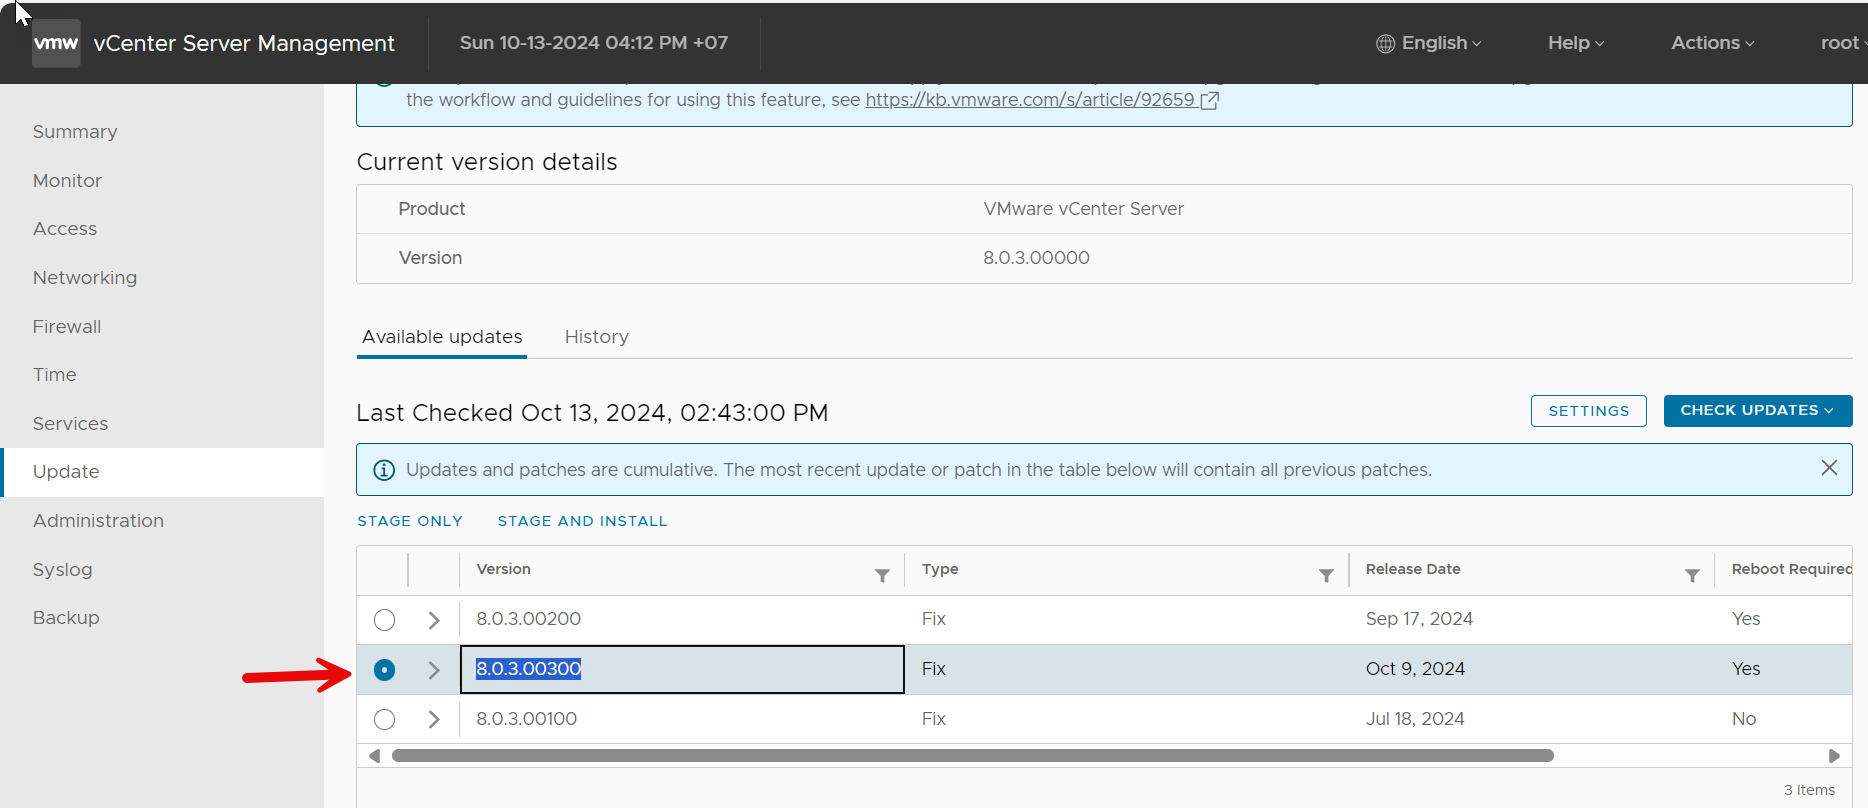
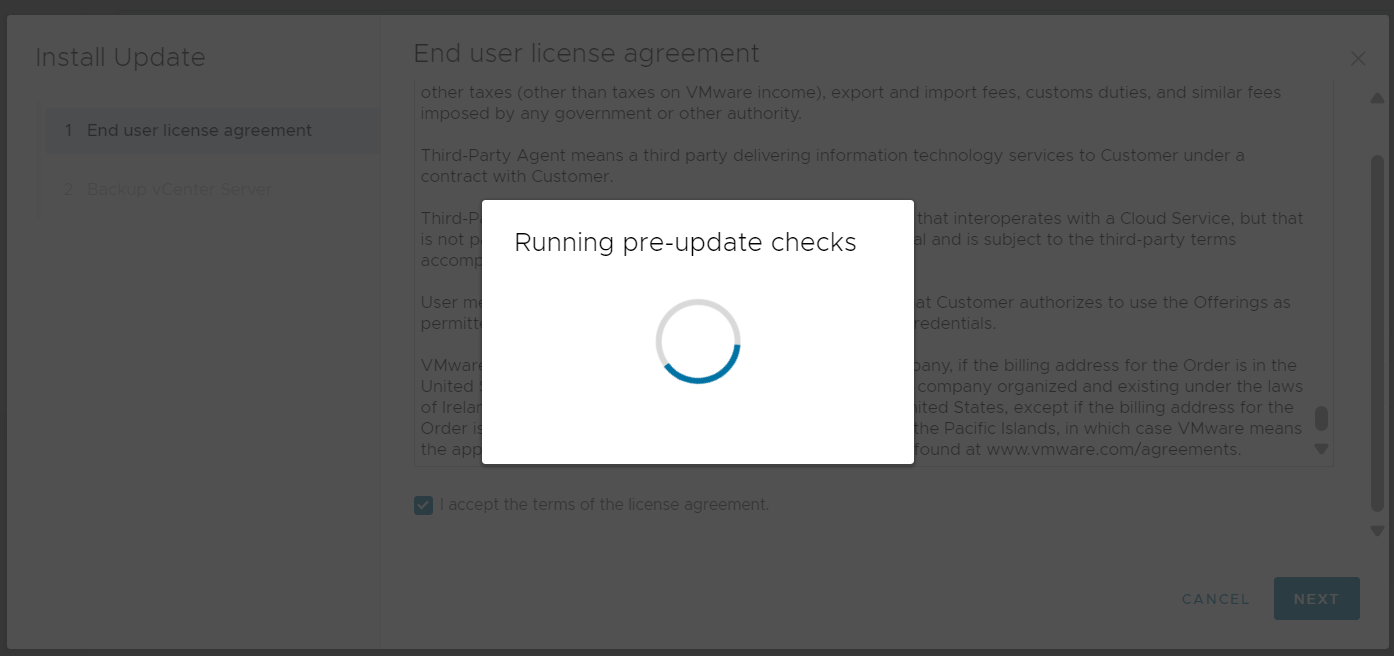
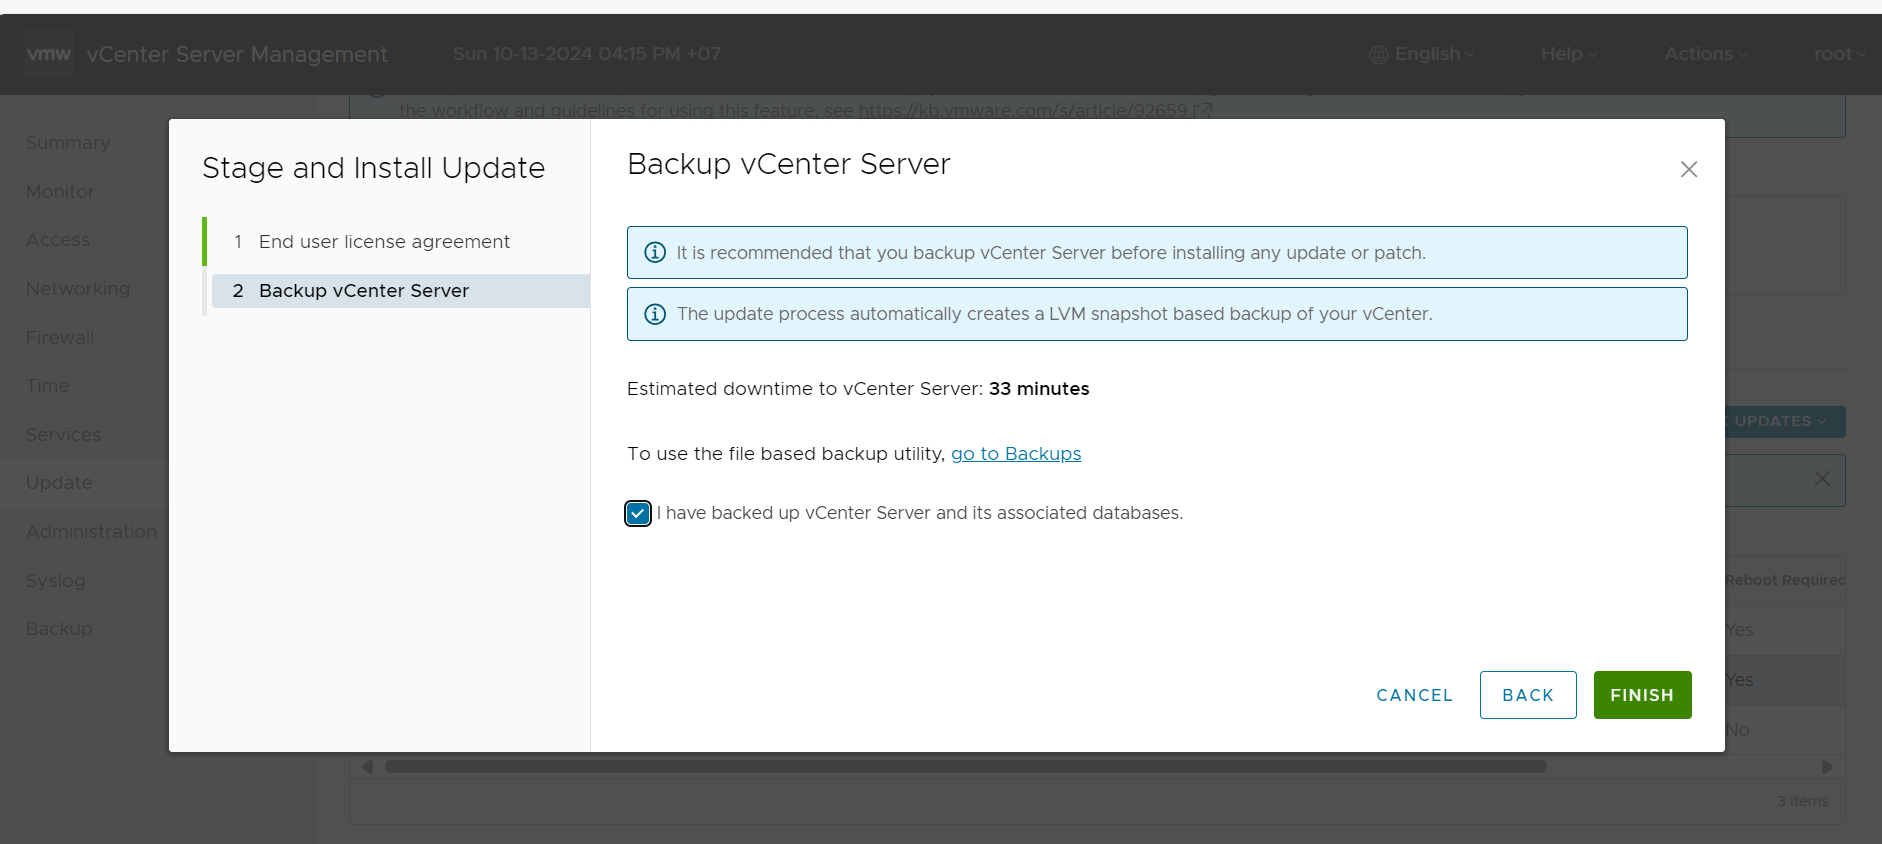
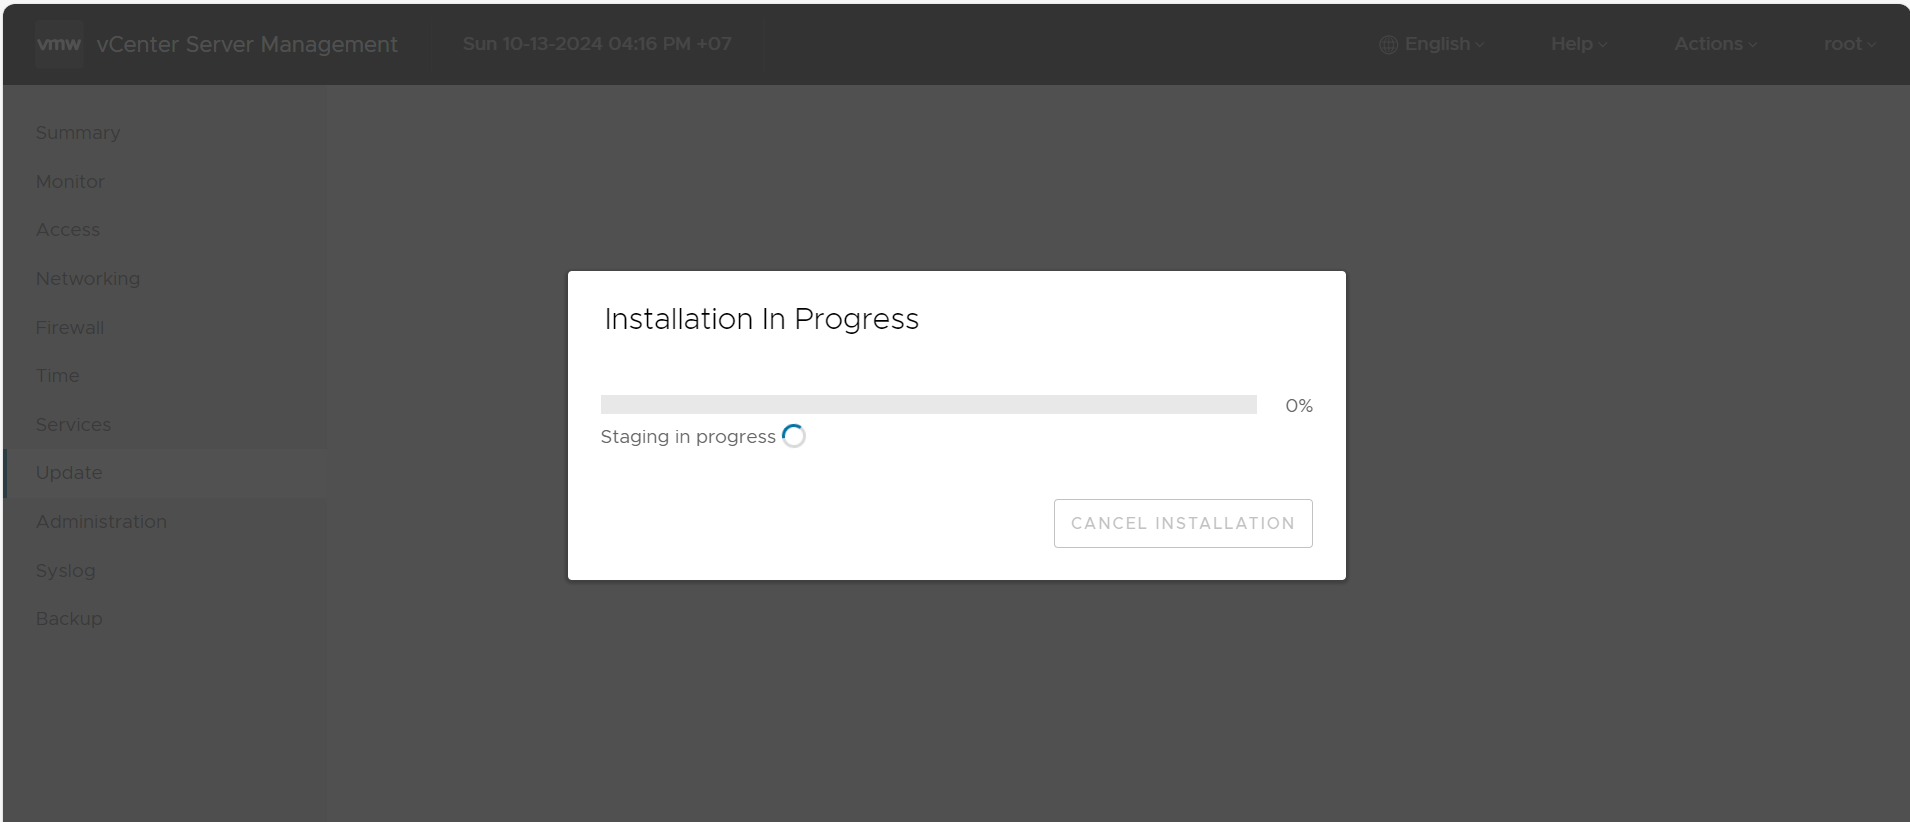
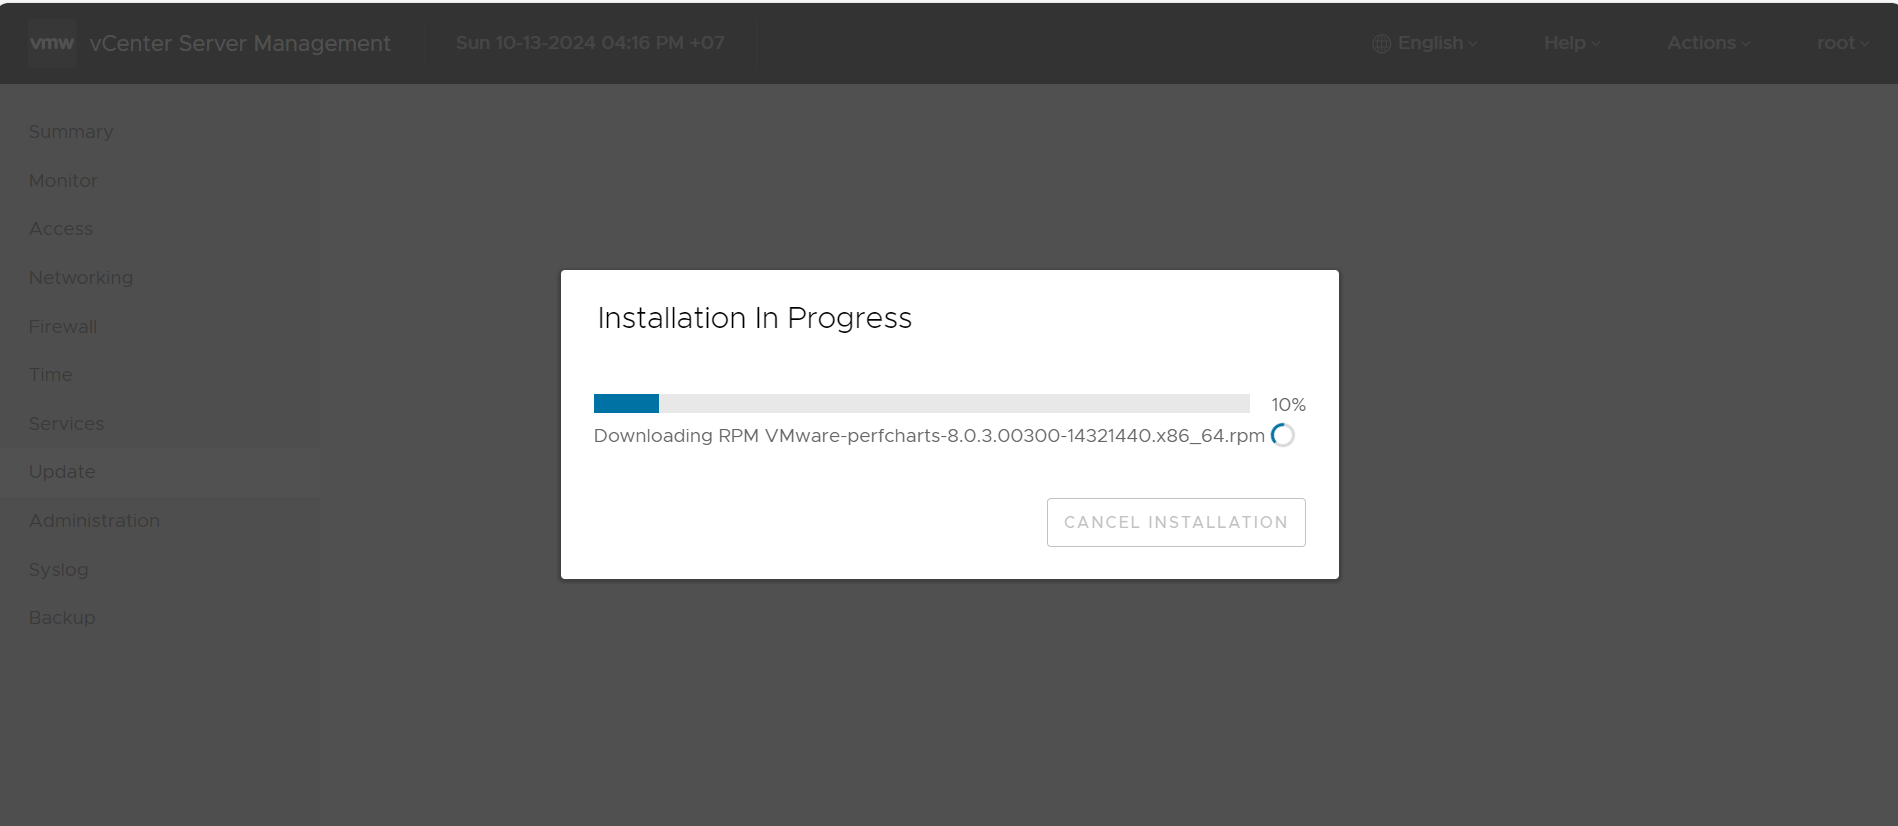
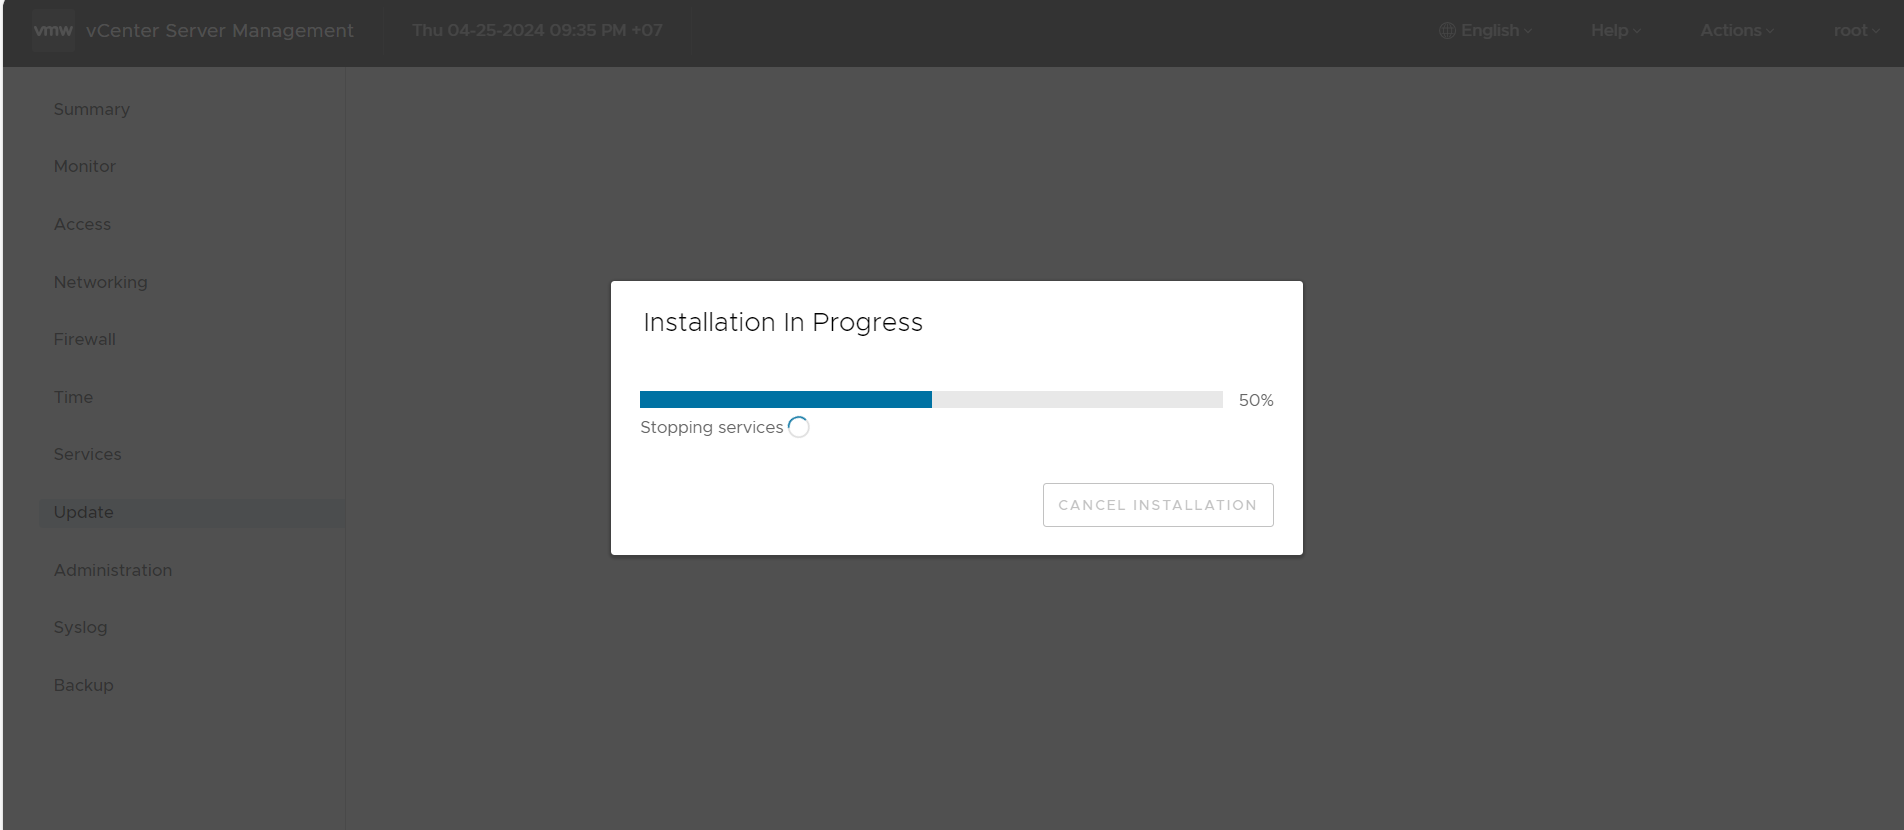
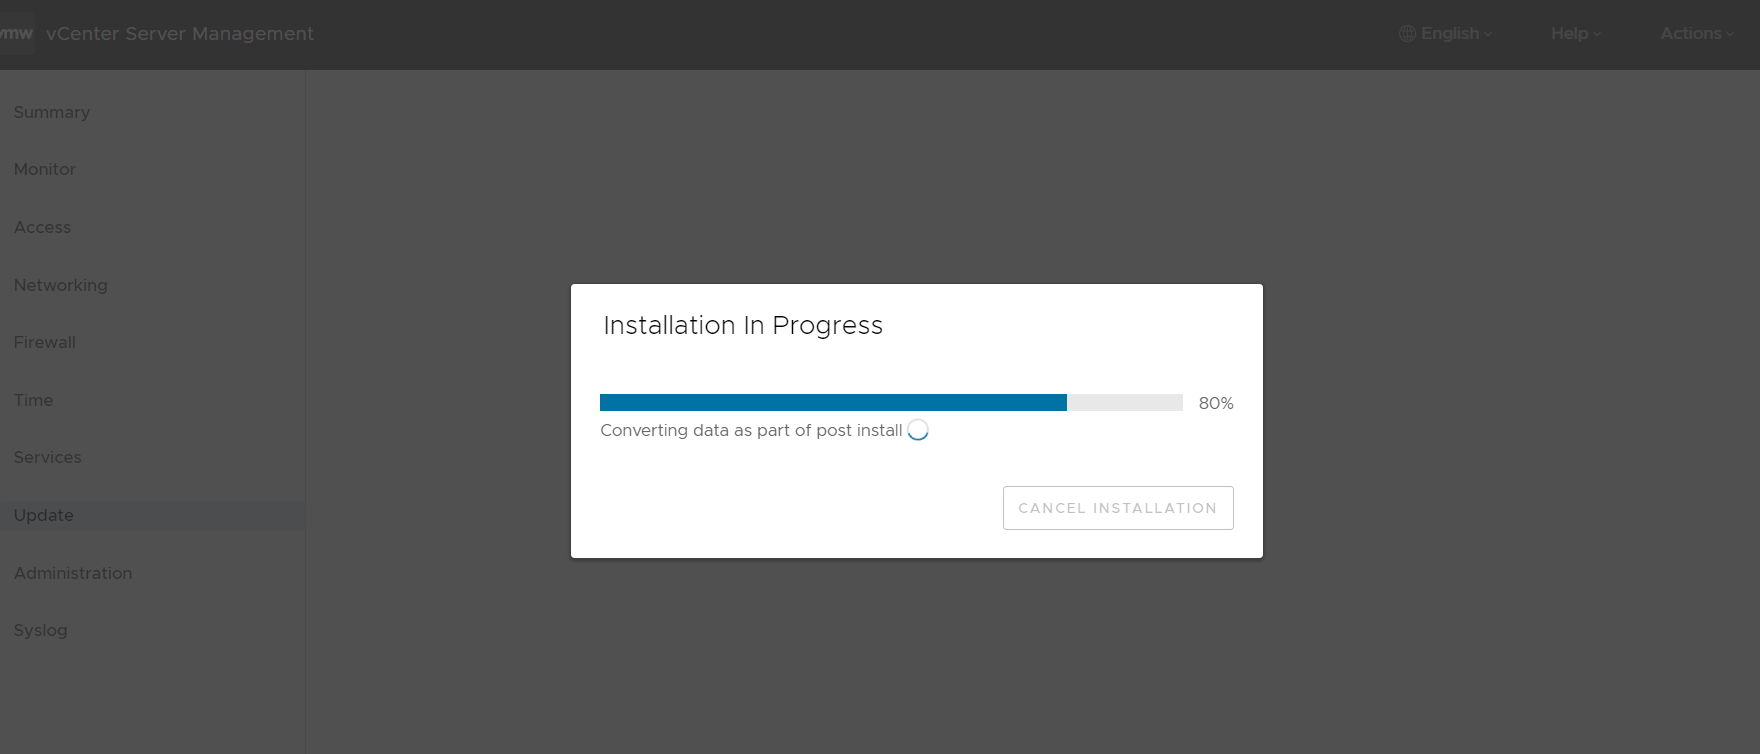
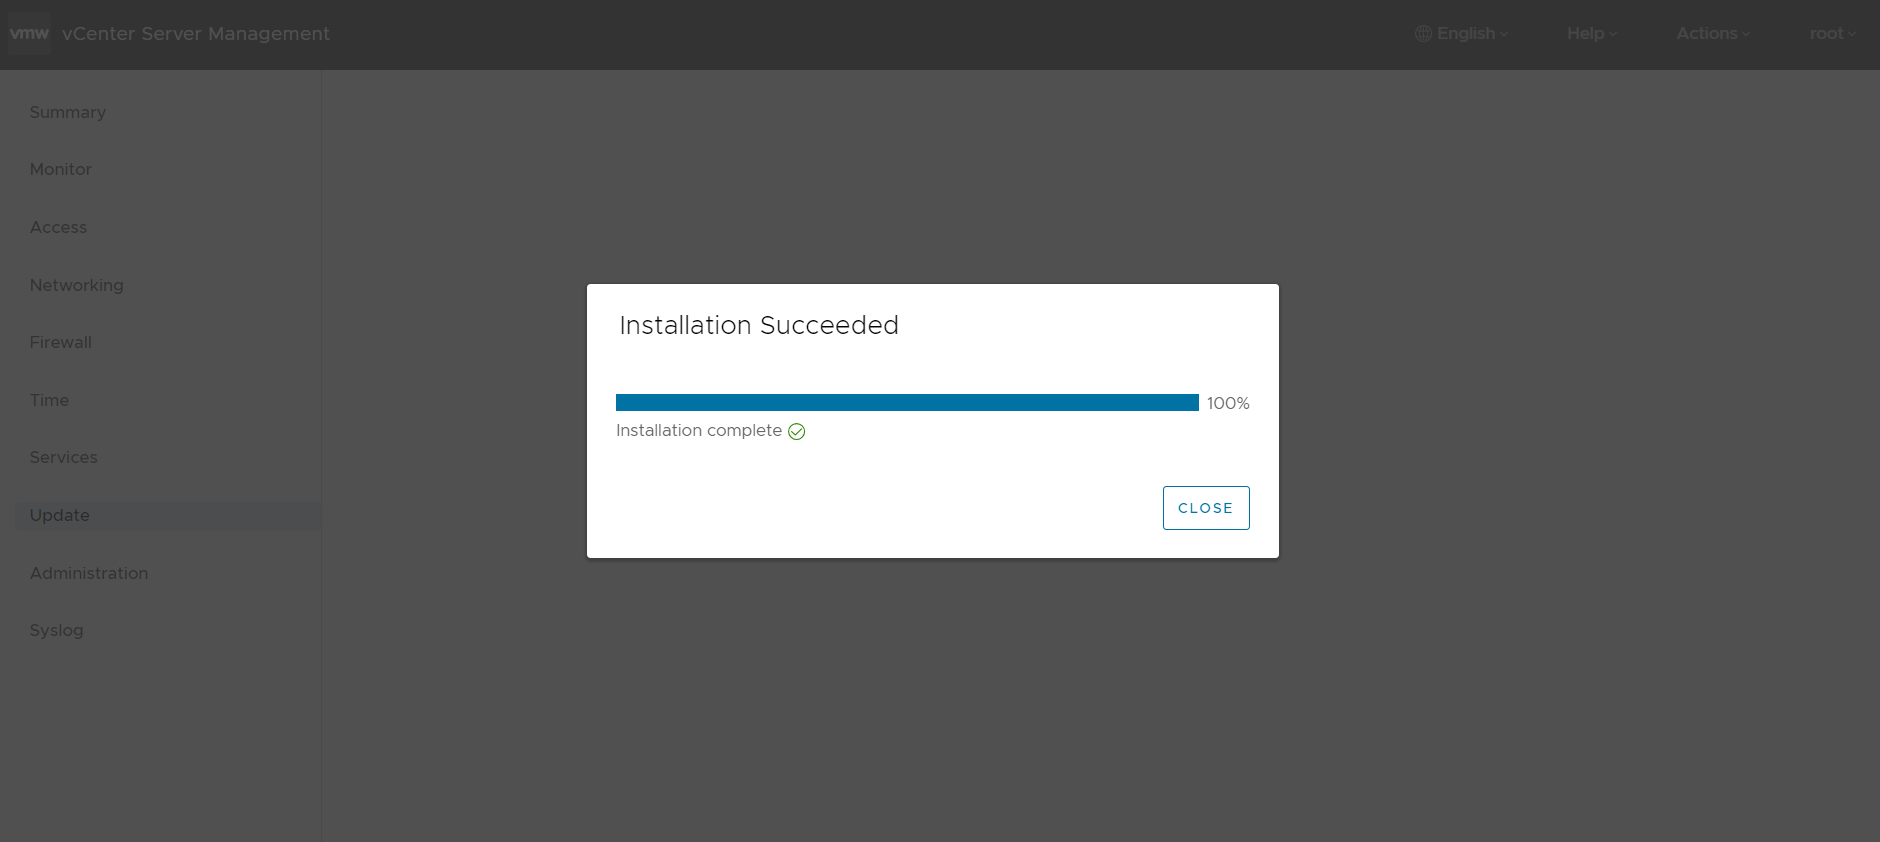
2. ✅ Cập nhật Offline bằng vCenter (vSphere Lifecycle Manager)
Phù hợp cho hệ thống có vCenter nhưng không có license token hoặc muốn chủ động cập nhật nội bộ.
- Tải về: File ISO hoặc ZIP của image ESXi/Patch
- Thao tác:
- Vào vCenter → Lifecycle Manager → Imported ISOs
- Upload file ISO/ZIP
- Tạo Image Base
- Gán image vào cluster → Stage → Remediate
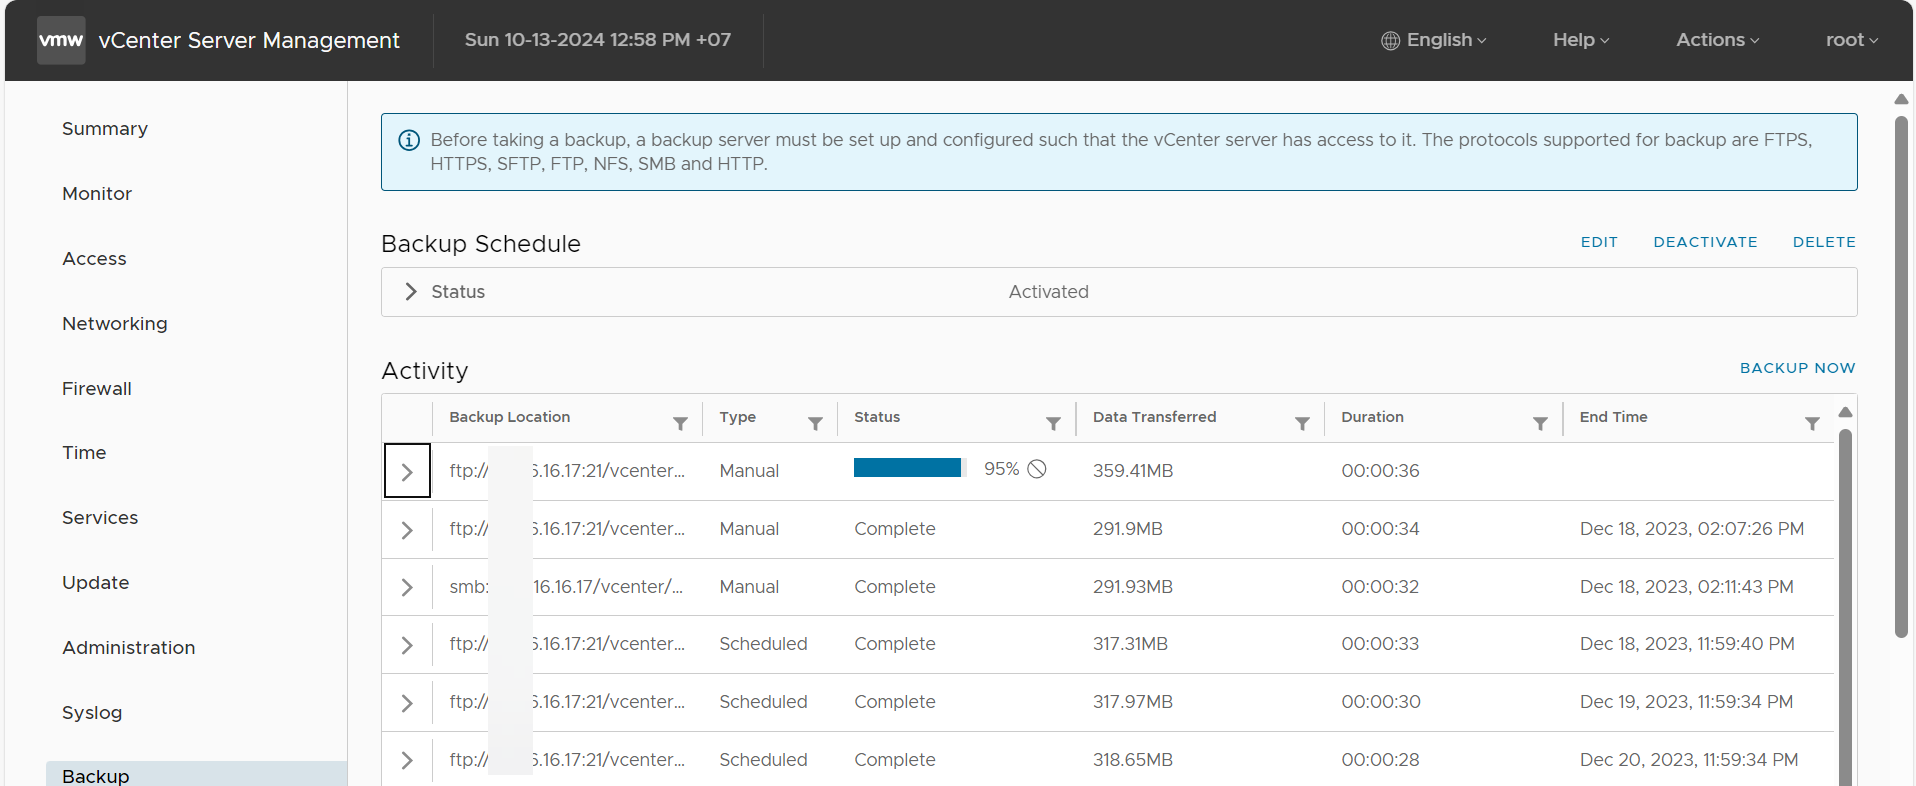
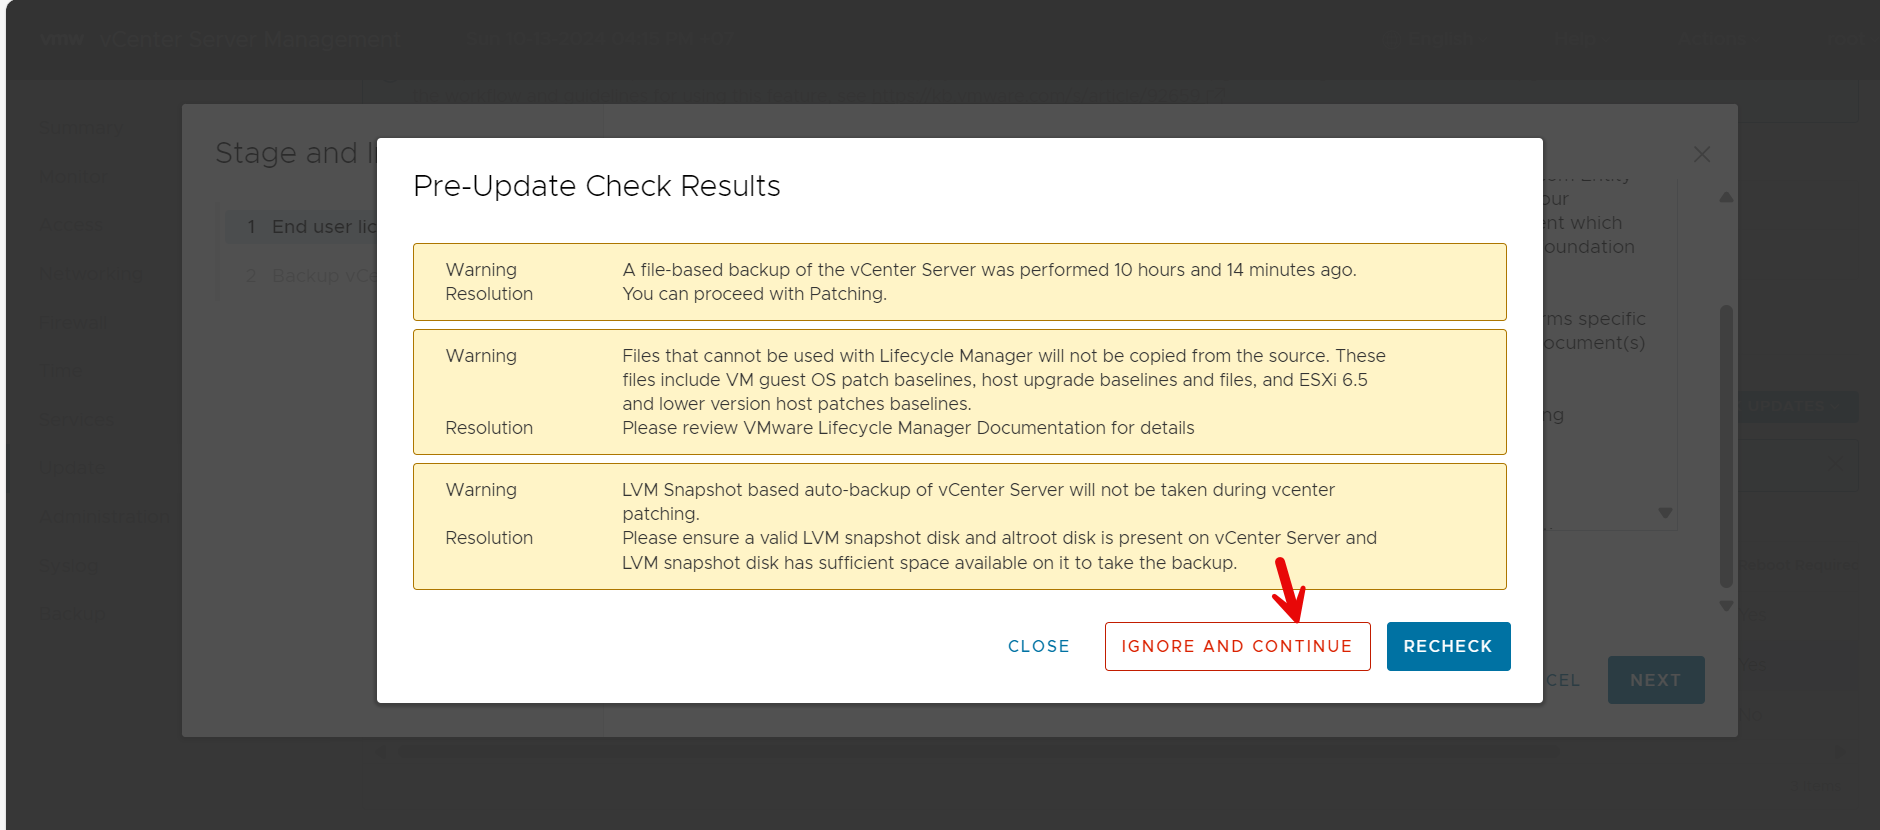
🛡️ ⚠️ ĐỪNG QUÊN: Backup trước khi update!
Backup là bắt buộc trước bất kỳ đợt cập nhật nào. Dưới đây là các gợi ý:
- ✅ Snapshot toàn bộ VM đang chạy (nếu dung lượng cho phép)
- ✅ Backup config ESXi host bằng PowerCLI hoặc
vim-cmd/esxcli - ✅ Với vCenter: export cấu hình bằng VAMI hoặc file OVF
- ✅ Sao lưu toàn bộ bằng phần mềm chuyên dụng như Veeam, Nakivo, Altaro, Vinchin…
Việc backup không chỉ giúp rollback khi lỗi mà còn đảm bảo an toàn nếu patch mới gây xung đột driver hoặc lỗi I/O.
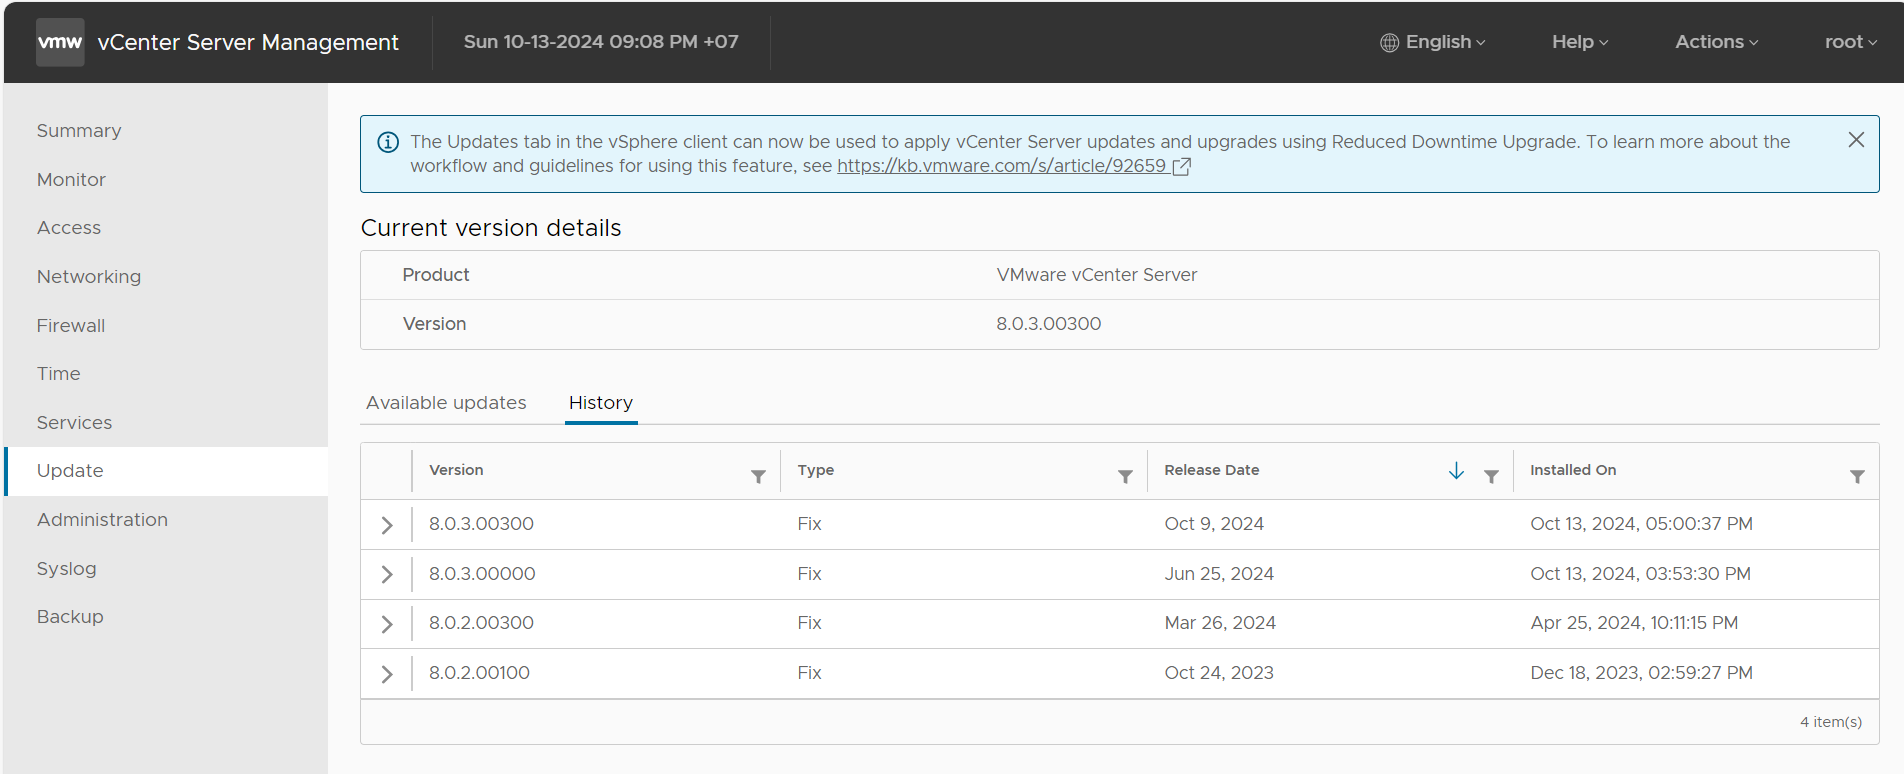
🔧 Trải nghiệm thực tế: Cập nhật ESXi 8.0U3e vá CVE mới
Tôi vừa cập nhật thành công toàn bộ host lên bản:
- ESXi 8.0U3e (Build 24674464)
- Vá các lỗ hổng bảo mật nghiêm trọng được công bố tháng 5/2025
- Hệ thống hoạt động mượt, không crash driver, không treo iSCSI/NIC
📌 Tổng hợp các phương án
| Phương án cập nhật | License Broadcom | Internet | Mức độ dễ | Quản lý tập trung |
|---|---|---|---|---|
| Online qua token | ✅ Cần | ✅ Có | ⭐⭐⭐⭐ | ✅ Có |
| Offline CLI | ❌ Không cần | ❌ Không | ⭐⭐⭐ | ❌ Không |
| vCenter Offline | ❌ Không cần | ❌ Không | ⭐⭐⭐⭐ | ✅ Có |
🧭 Lời kết: Đã đến lúc giảm phụ thuộc vào VMware?
Broadcom đang khiến hệ sinh thái VMware trở nên “đắt đỏ” và khó tiếp cận hơn với:
- Giá license tăng cao
- Tính năng bị giới hạn nếu không có hỗ trợ chính thức
- Khó khăn trong cập nhật và bảo trì nếu không có internet/token
💡 Giải pháp dài hạn:
- 👉 Xem xét chuyển sang nền tảng mã nguồn mở hoặc ít phụ thuộc:
- Proxmox VE: Nguồn mở, ổn định, mạnh mẽ, dễ quản lý, cộng đồng lớn
- Microsoft Hyper-V / Azure Stack HCI: Cho hệ sinh thái Microsoft, hybrid tốt
- Nutanix AHV, XCP-ng, OpenStack: Nếu quy mô lớn
🌱 Nếu bạn là doanh nghiệp SME hoặc tổ chức IT nội bộ muốn linh hoạt và tiết kiệm hơn, Proxmox hoặc Hyper-V là hướng đi phù hợp để giảm rủi ro bị khóa vendor.
📬 Cần tư vấn thiết kế nền tảng ảo hóa mới, backup chuẩn 3-2-1 hoặc nâng cấp ESXi an toàn?
Liên hệ ngay:
- 🌐 phuongnguyenit.com
- 📧 phuongit.contact@gmail.com
- 📘 Facebook: fb.com/jsisen


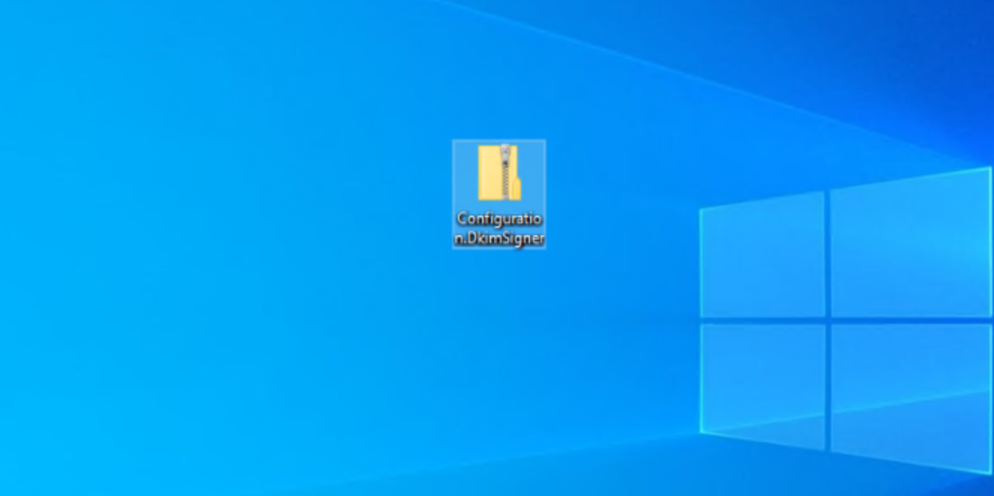
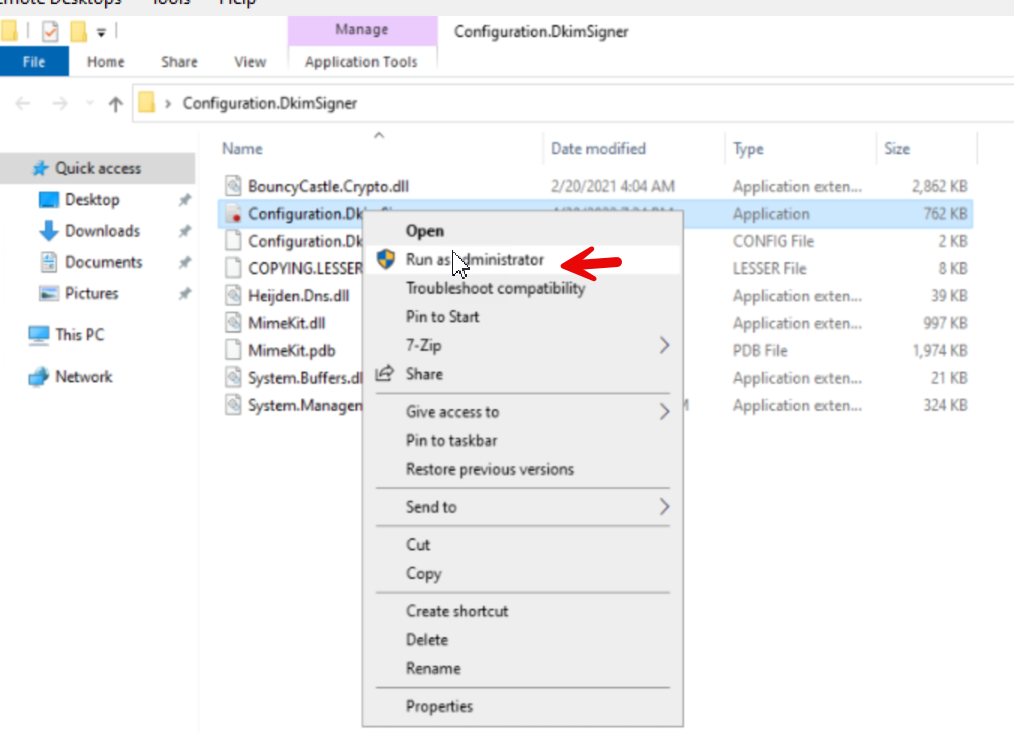
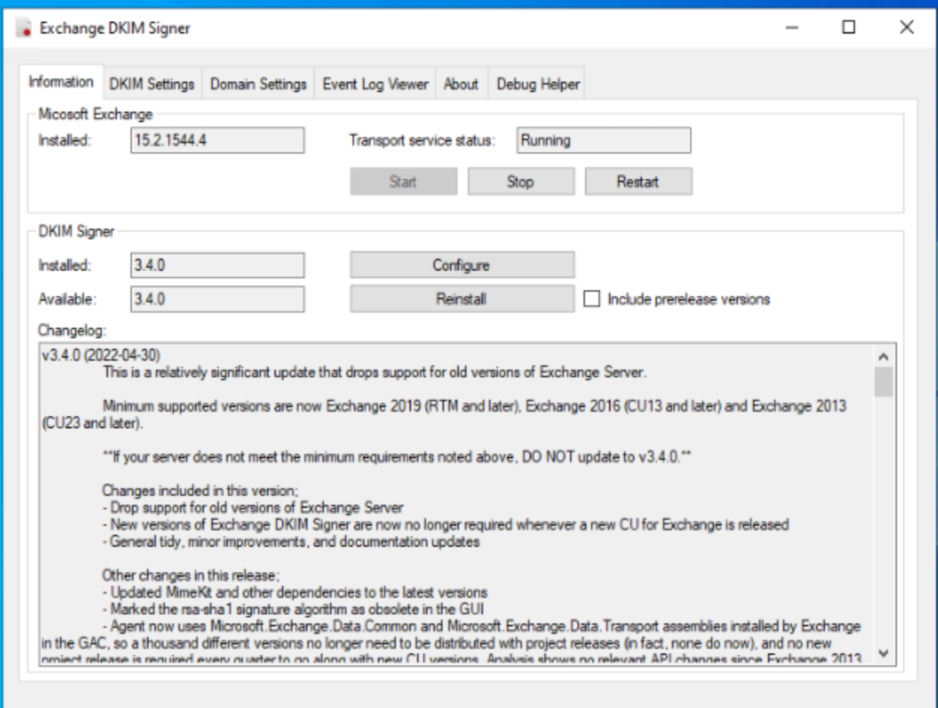
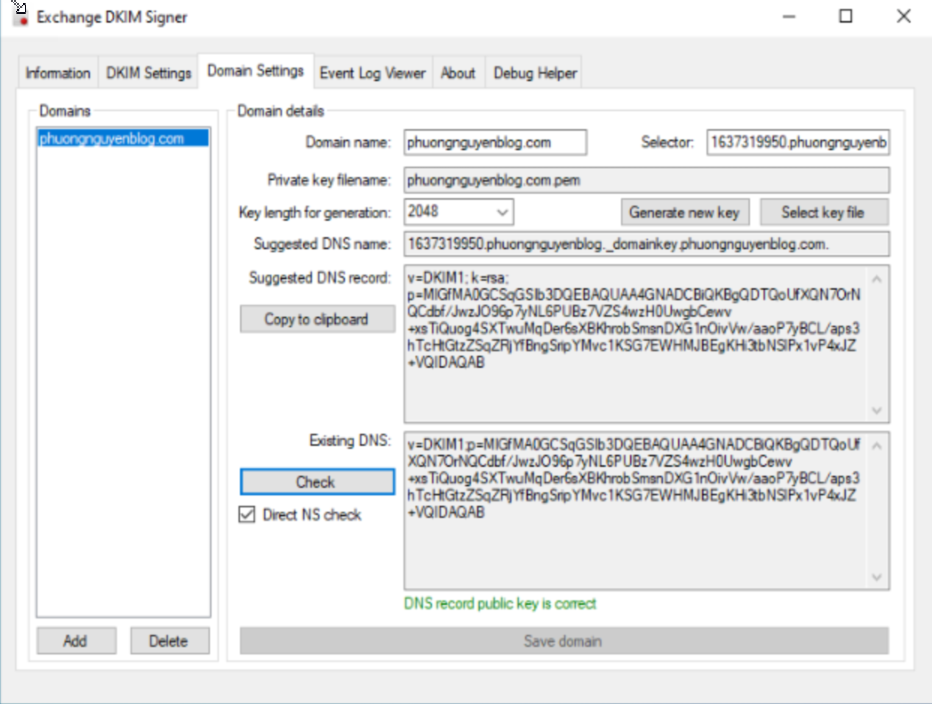
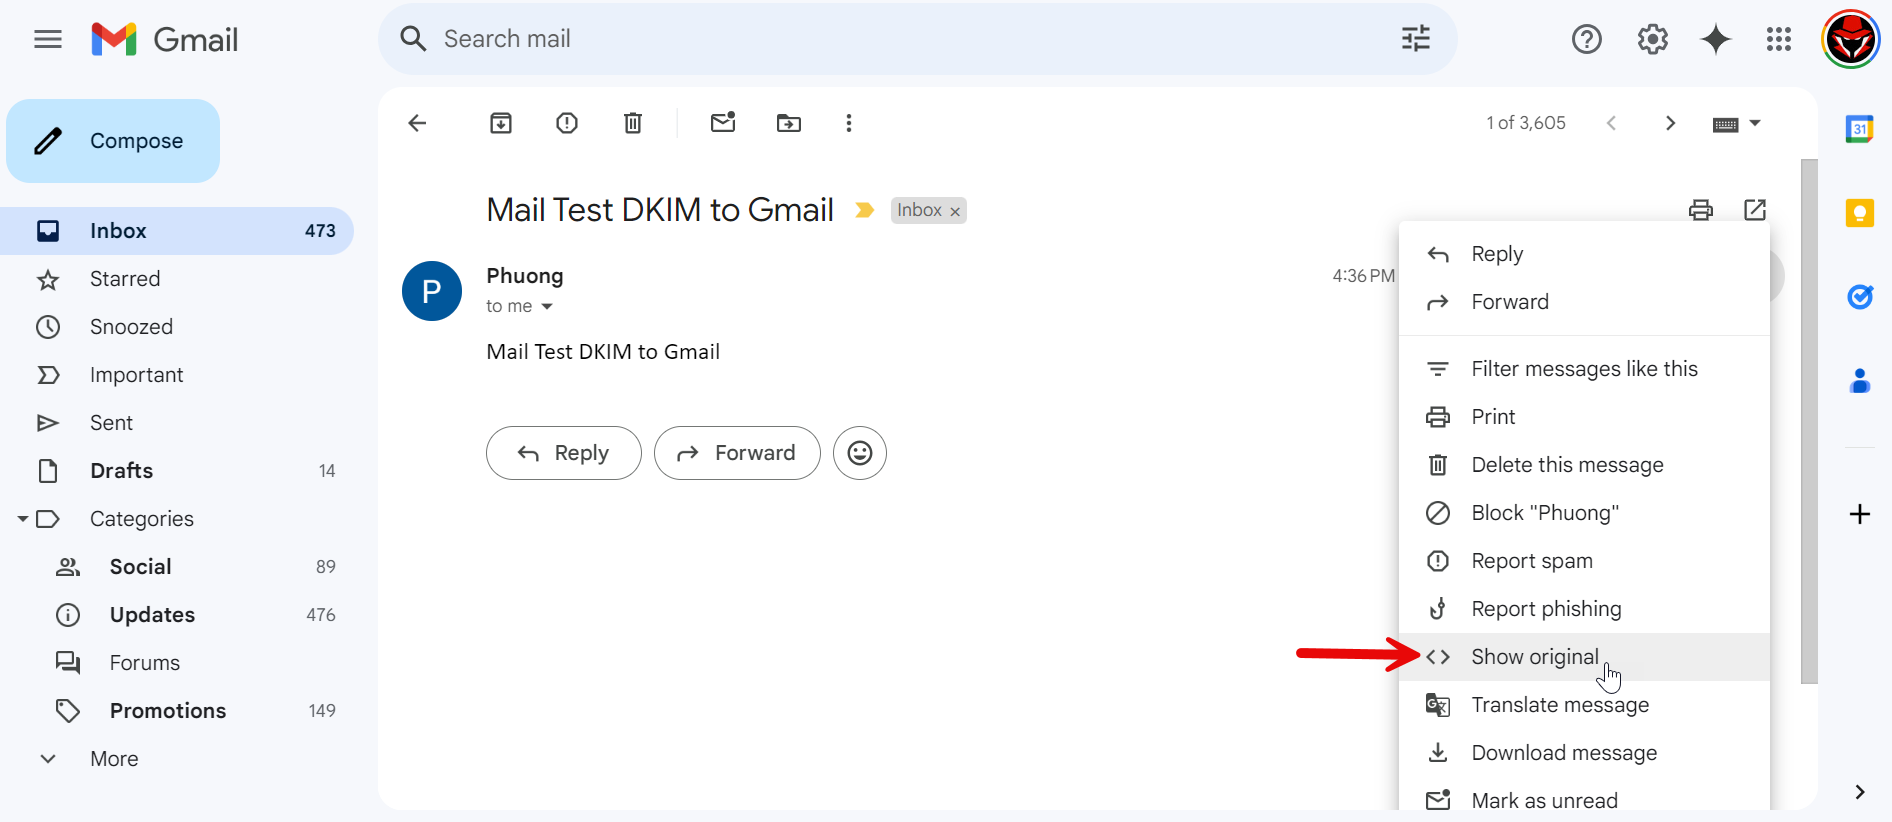
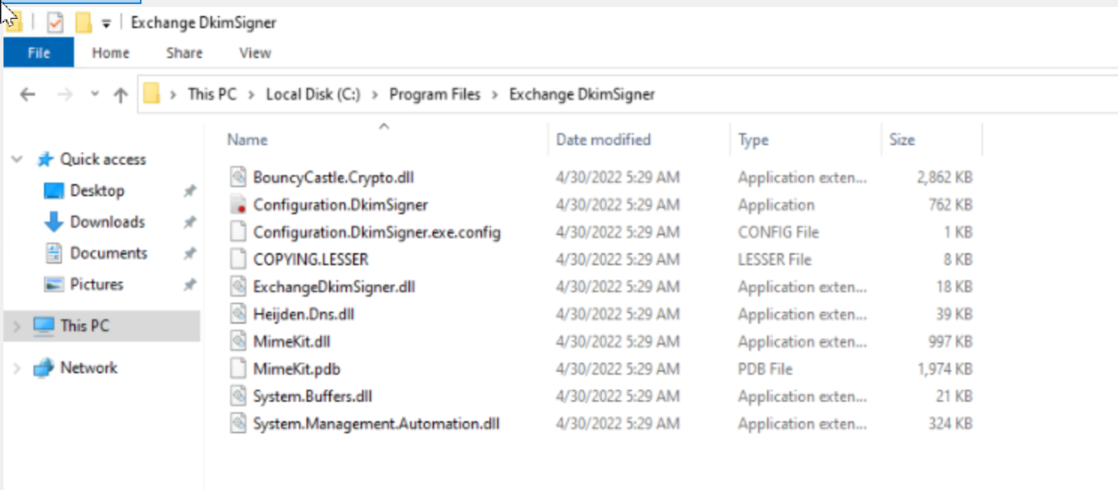 Sent to desktop cho dễ lần sau thao tác, chúng ta chạy file configuration.dkim.signer.exe